Easy Knit Cardigan With Furls Crochet
If you want to get straight to the written free pattern scroll down! Or check out the video tutorial at the end
This post contains affiliate links that help support Brindle Babe Designs Content.
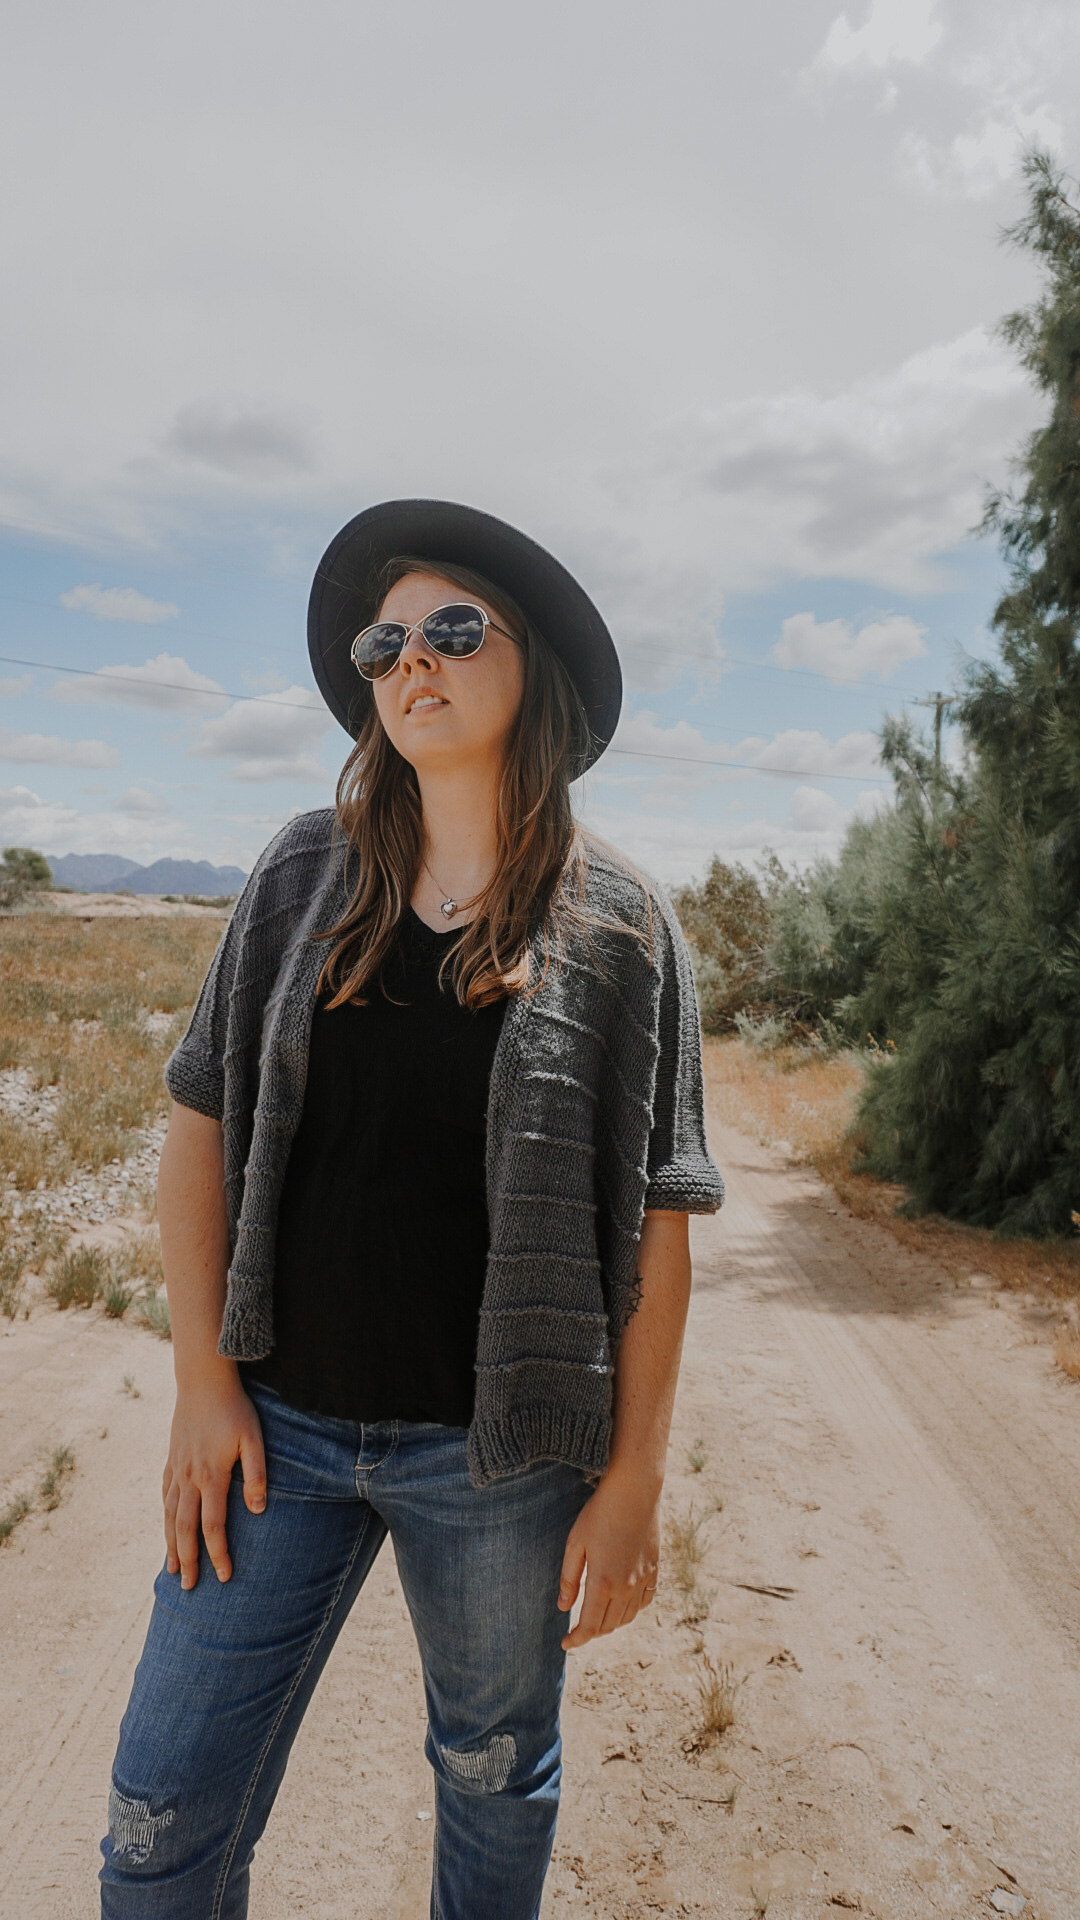
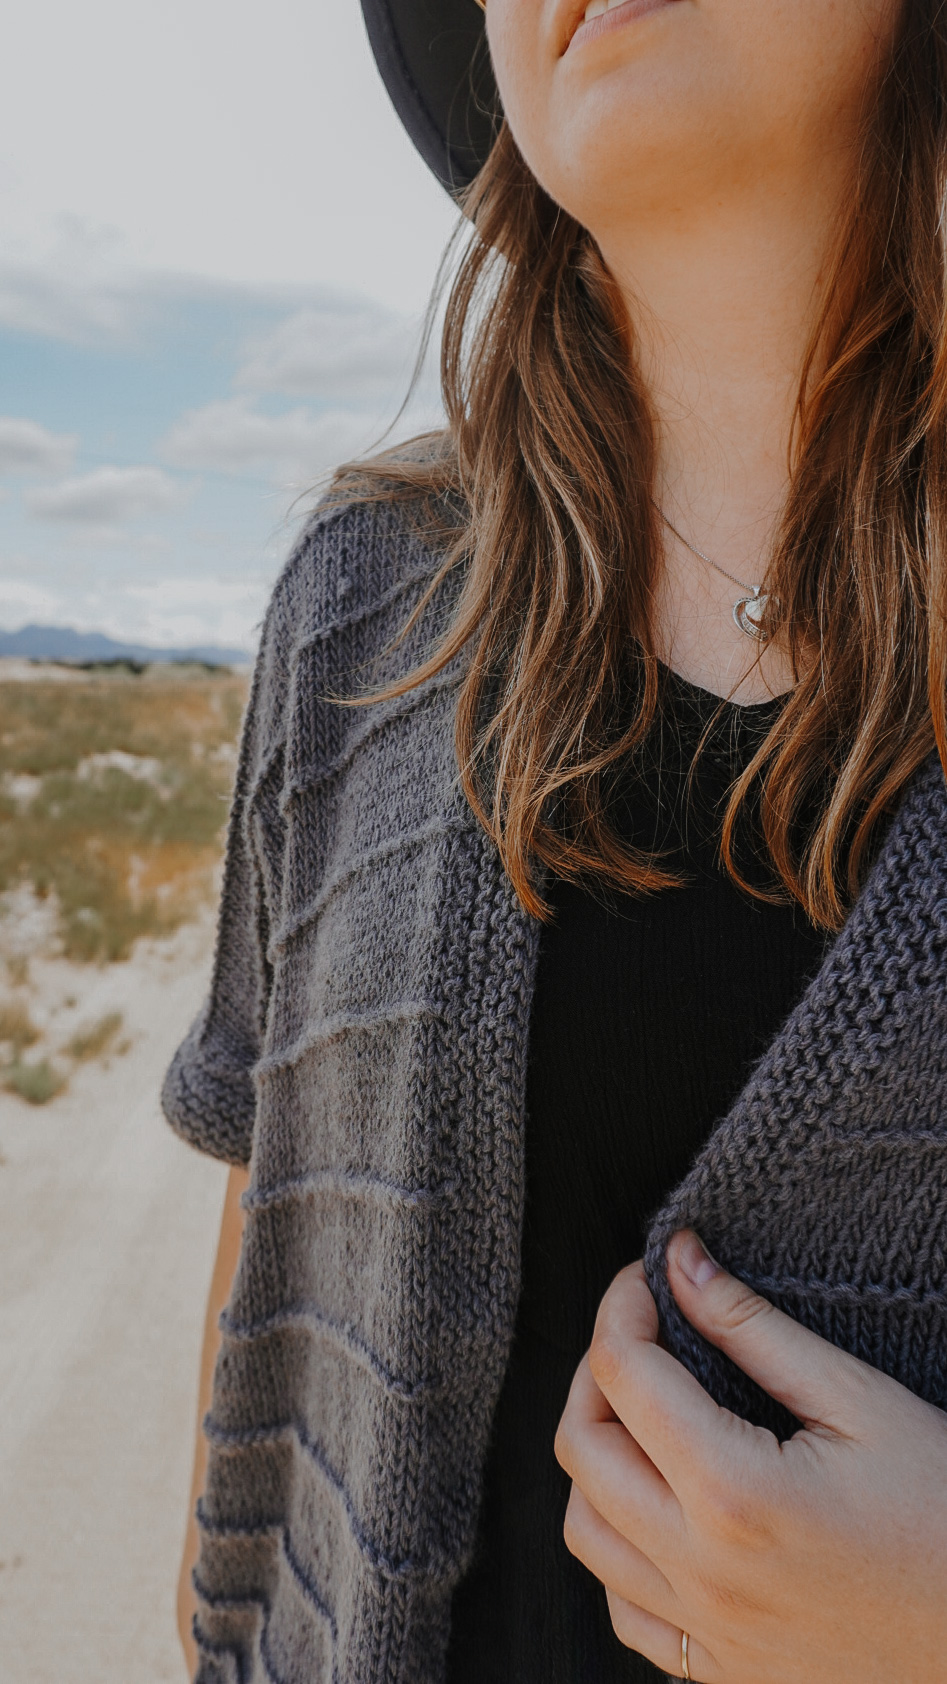
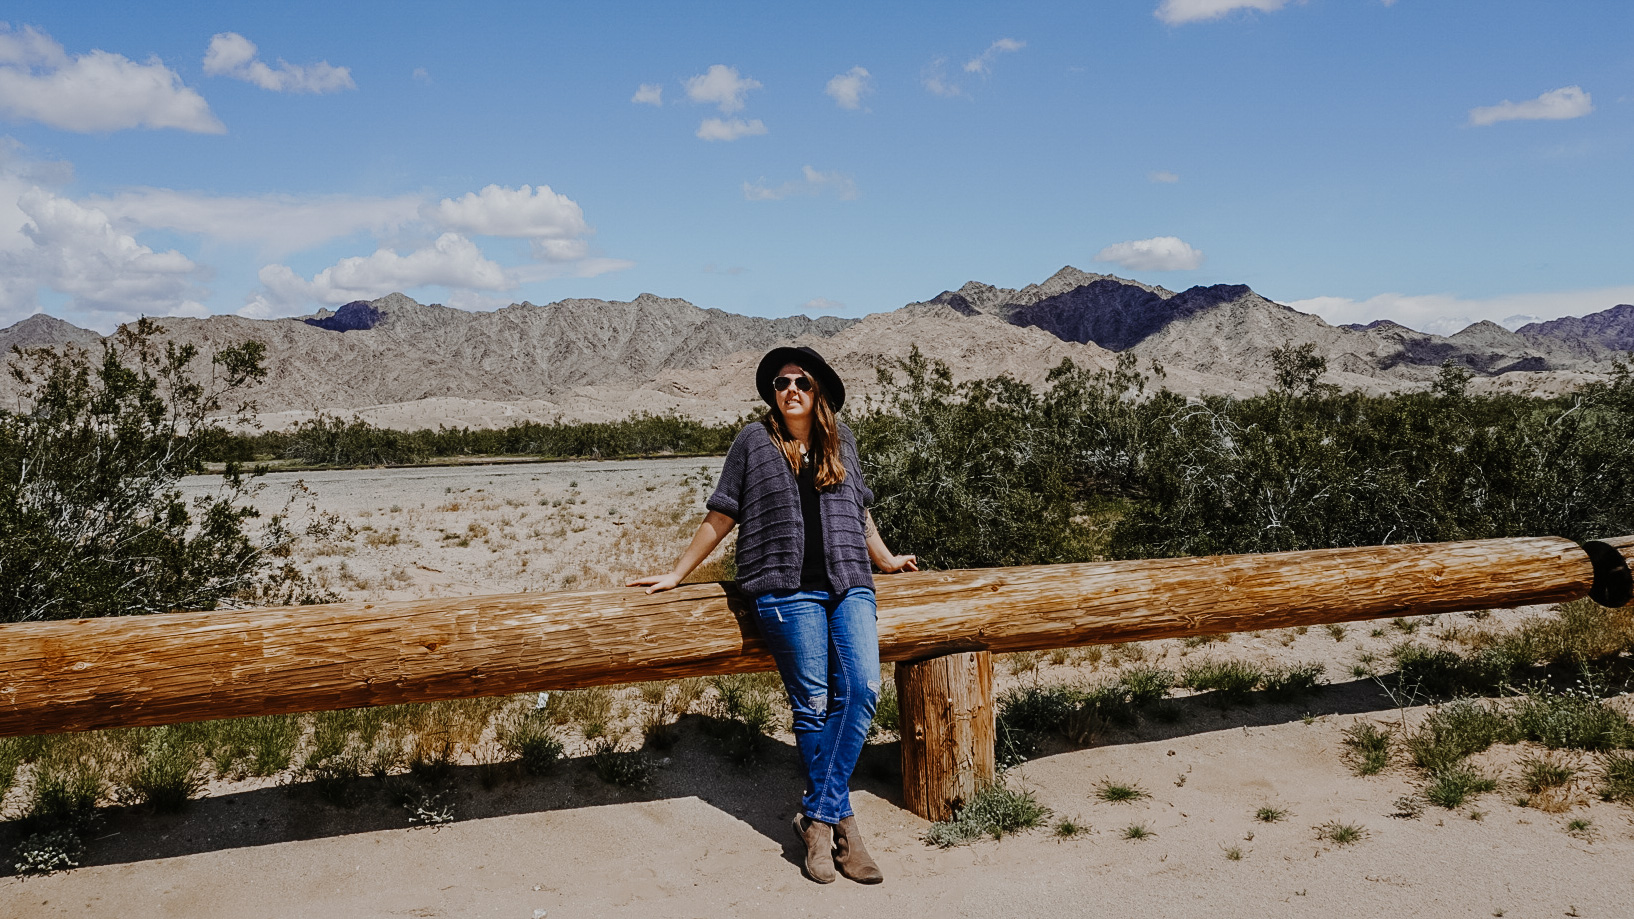
You guys this cardigan is so easy and so versatile! You can wear it in the middle of winter with a long sleeve shirt or its light enough to wear in the middle of spring with your favorite light weight tops. The drape with this yarn is light weight but so flattering and the slight shine sets off all the stitches!
Are you new to knitting? or just returning back? All you need to know is how to knit and purl I’ll show you the rest. I learned to knit when I was a freshman in high school and exclusively made scarves. Fast forward to 3 years ago I picked up knitting again but I didn’t want to be confined to only making scarves, I then moved onto making beanies. I felt like I was finally in a good place where I could move onto garments, I got all the basics down, tension is consistent, I’m good to go! Well after searching far and wide it seemed like there were very little entry level knit garments out there, I mean the only tutorial I could find on YouTube was a sweater tutorial that was only in Spanish. I’m not gonna lie knitting is hard in the beginning but if you keep at it its so worth it! So I wanted to design something for the 2017 Ashlie that wanted to up her game, knew the basics, and was willing to put in the work to try garments. A lot of people told me you should try working something easier. But heck if I have the basics down and have the desire to try something that is a little hard than why stop a lady from doing it! So here’s to you entry level knitters that want to make a cute but simple garment.

The Yarn & Needles
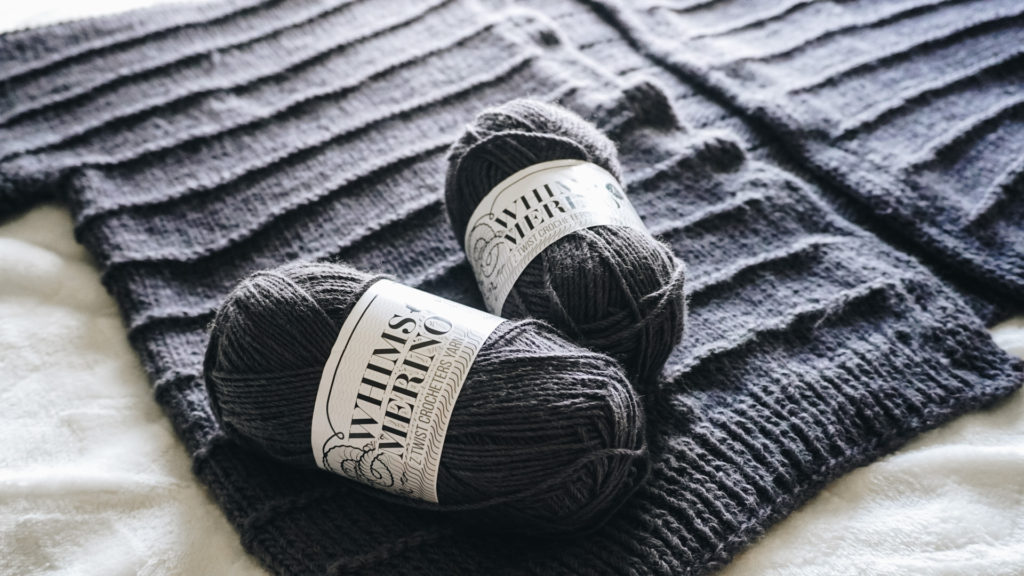
A BIG thank you to furls for providing the yarn to make this design become a reality. I love Furls’ Whims Merino yarn one for this dreamy charcoal grey color, two for the amazing drape, and three for the beautiful shine that gives great depth to every stitch. They not only have a worsted weight option but also a dk weight for an EVEN better drapey option. Make sure you check out their website at www.furlscrochet.com to see all the beautiful color choices.
Furls is not all crochet they also have knitting needles! For this project I used the Rosewood and Ebony straight needles to work the front panels of my cardigan. I haven’t used a knitting like these they are soft at the tip and the stitches glide so easily over the wood making knitting actually enjoyable. If you’re like me I hate dropping stitches but these needles are smooth enough but also have that perfect grip minimizing any stitches that want to slip of the needles.


Pin the pattern for later here
Get a copy of the ad free printable pdf pattern here
Pattern Notes/ Materials
Needles
US Size 5.50mm Circular Knitting needles
Optional- Furls 5.50mm Straight Knitting needles
Yarn
Approx. 513(658, 761, 932) yards of Furls Worsted Whims Merino Weight (4) Worsted, 94 yds.
Materials
Tapestry Need
Scissors
Stitch Markers
Skill Level
Beginner
Sizes
XS/S(M/L, XL/2X, 3X/4X)
Gauge
4” X 4” In Stockinette
17 stitches X 23 Rows
Measurements
| XS/SM | MED/LG | XL/2X | 3X/4X | |
| Bust | 44″ | 54″ | 60″ | 72″ |
| Length | 21″ | 22″ | 23″ | 24″ |
| Armhole Depth | 6.5″ | 7.5″ | 8.5″ | 9.5″ |
Abbreviations (US terms)
K Knit
P Purl
St Stitch
CO Cast on
BO Bind off
P2tog Purl 2 together

Notes
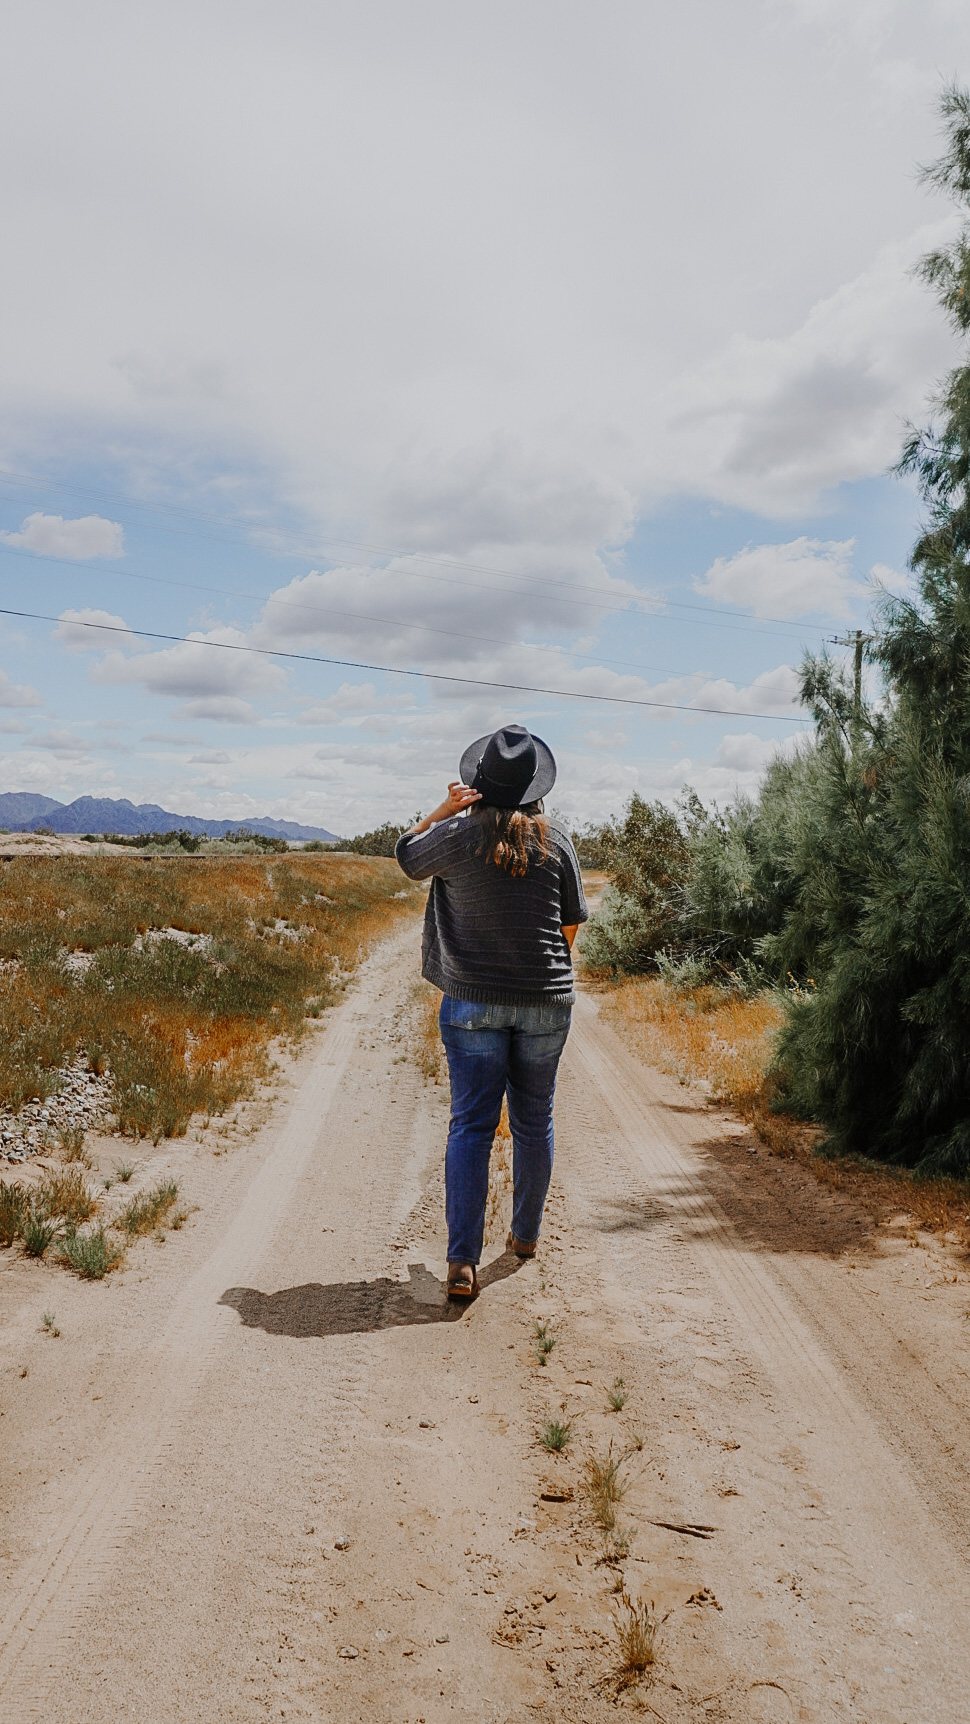
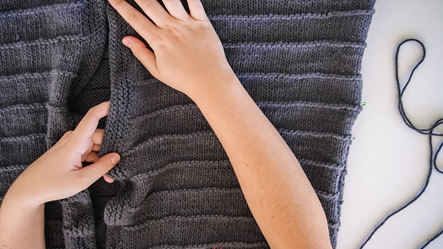
This cardigan is designed to be oversized with a dropped sleeve and pairs great with any casual or dressed up outfit. The back and front panels of the cardigan are worked in one continuous piece, starting at the bottom of the back panel working up to the shoulder then splitting the two front panels and working each panel individually. Once the body of the piece is finished you will pick up stitches to make up the boarder starting from the right panel working up around the neck and finishing at the bottom of the left panel. The front and back panels are then seamed up on the sides to join. Then working the small border around the armholes, you will pick up stitches around working the rows flat then seam up the bottom of the sleeve to join the border.
Pattern
Back Panel
CO 84(102, 114,136) stitches.
Step 1: Work in k1, p1 rib stitch until piece measures 2” from CO edge
Step 2: Rows 1-12 Knit one row, purl one row (Also known as Stockinette Stitch).
Step 3: Row 13 Purl.
Step 4: Row 14 Purl.
Step 5: Repeat steps 2-4 until you reach a total of 112(118,124,128) rows (not including your ribbing). Do not BO. Place a st marker to mark the top of your work.
Right /Left Panels
Step 6: Count 42(51, 57, 68) sts and place a stitch marker to separate the 2 front panels.
Step 7: Starting with the right side (your right side if you were wearing the cardigan) panel repeat working rows 1-14 until you reach 111(117, 123, 127) rows.
Step 8: Row 112(118, 124, 128) p 1, p2tog, p each st across.
Step 9: Work in k1, p1 rib stitch until piece reaches the same number of rows as the ribbing on your back panel or measures 2”.
Step 10: BO all stitches.
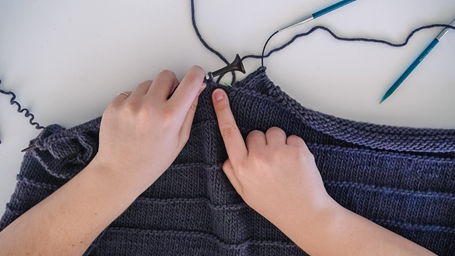
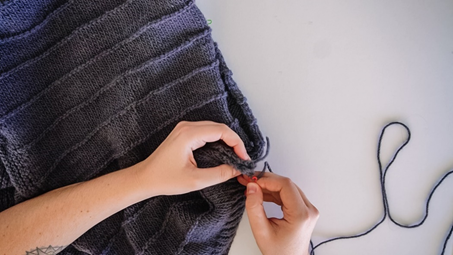
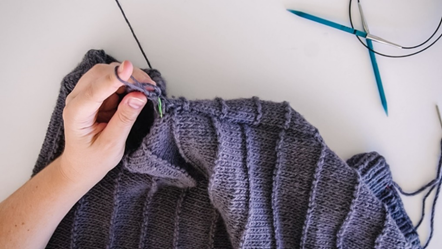
Step 11: Attach your yarn to the inside, or to the right of your left side panel (pictured below). You will continue working from where you split the 2 panels. Do not attach your yarn to the outside of your work.
Step 12: Repeat working rows 1-14 until you reach 111(117, 123, 127) rows.

Step 13: Repeat steps 7-9.
Border
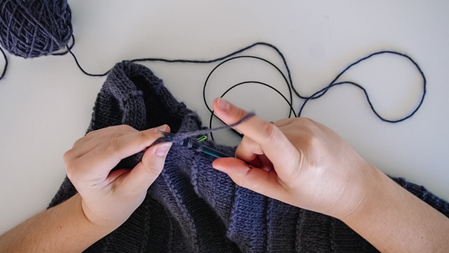
Step 14: Starting from the bottom of the right side panel pick up each stitch around 254(266, 278, 286) sts ending on the bottom of the left side panel.
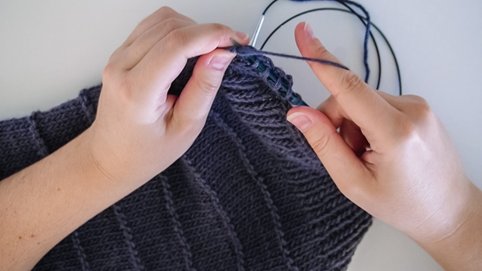
Step 15: k each row until your border piece measures 1.5”-2.5”s or desired width.
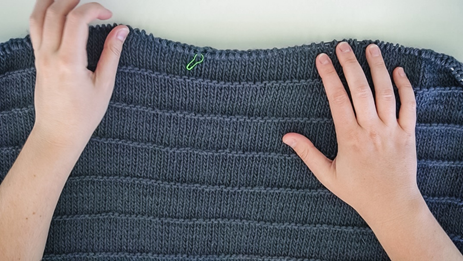
Step 16: BO all stitches. Here is what your border should look like below.
Seaming
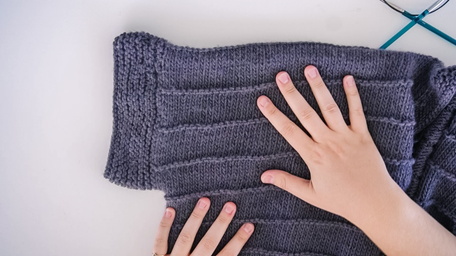
Step 17: Lay your work flat. Take your st marker and place one on the corners to join the back and front panels.
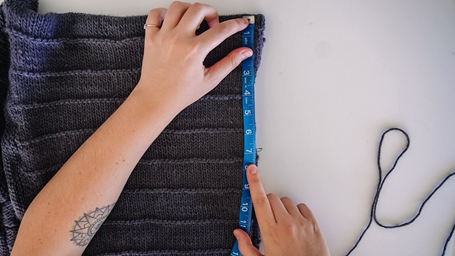
Step 18: Starting from the top count 25(29, 33, 37) rows or measure 6.5(7.5, 8.5, 9.5) inches and place a st marker at the base of your armhole (as pictured).
Step 19: Turn your work inside out, attach your yarn to the bottom where you placed your first st marker. Start seaming up the side of your work until you reach the base of your armhole.
Step 20: Repeat steps 16-18 to the opposite side.
Sleeve border

Step 21: Make a slip knot and attach your yarn to the base of your arm hole.
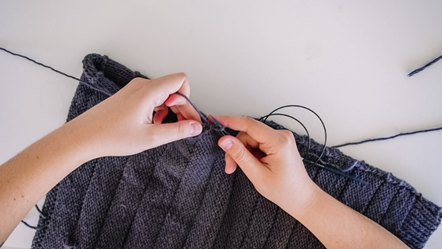
Step 22: Turn your work right side out and pull your slip knot through.
Step 23: Pick up 50(58, 65, 73) sts. Do not join.
Step 24: k each row until your sleeve measures 2” or until you’ve reached your desired length.
Step 25: BO all sts.
Step 26: turn your work inside out and seam up the base of your sleeves.
Step 27: Repeat steps 20-25 to your other sleeve.
*Alternately you can work the sleeve border separately in a flat piece by casting on 50(58, 65, 73) sts, knitting each row until you reach 2” (or desired length) and seaming it to your armhole.
Step 28: Weave in all your ends and you are finished!

Thank you so much for following along! I would love to see your finished pieces! Please tag me if you share photos on Instagram @BrindleBabeDesigns or use #easyknitcardigan


Crystal Miles
20 Apr 2020Hello I have little problem with your pattern. Since the pattern for back in the beginning row 1 to 12 for Stockinette Stitch then row 13. purl, but after this, it will become opposite stockinette stitch. so I had to add one more row as purl after row 13 to keep stockinette stitch, and the number of total rows is little off. Such as 13 rows x 9 is 117 rows..
Would you look into this issue? or did I do wrong?
admin
27 Apr 2020You would just continue working in stockinette.
Christine Doole
26 Apr 2020Can you put this on Ravelry please I use it to keep track of my projects
admin
27 Apr 2020Yes! I am working on that today!
Tamiflu
30 Jun 2020Week One : Whims Crochet Earwarmer or Whims Knit Earwarmer designed by Briana K Designs Week Two : Ragged Falls Shrug designed by Sincerely, Pam Week Three : Easy Amethyst Cardi designed by Coco Crochet Lee