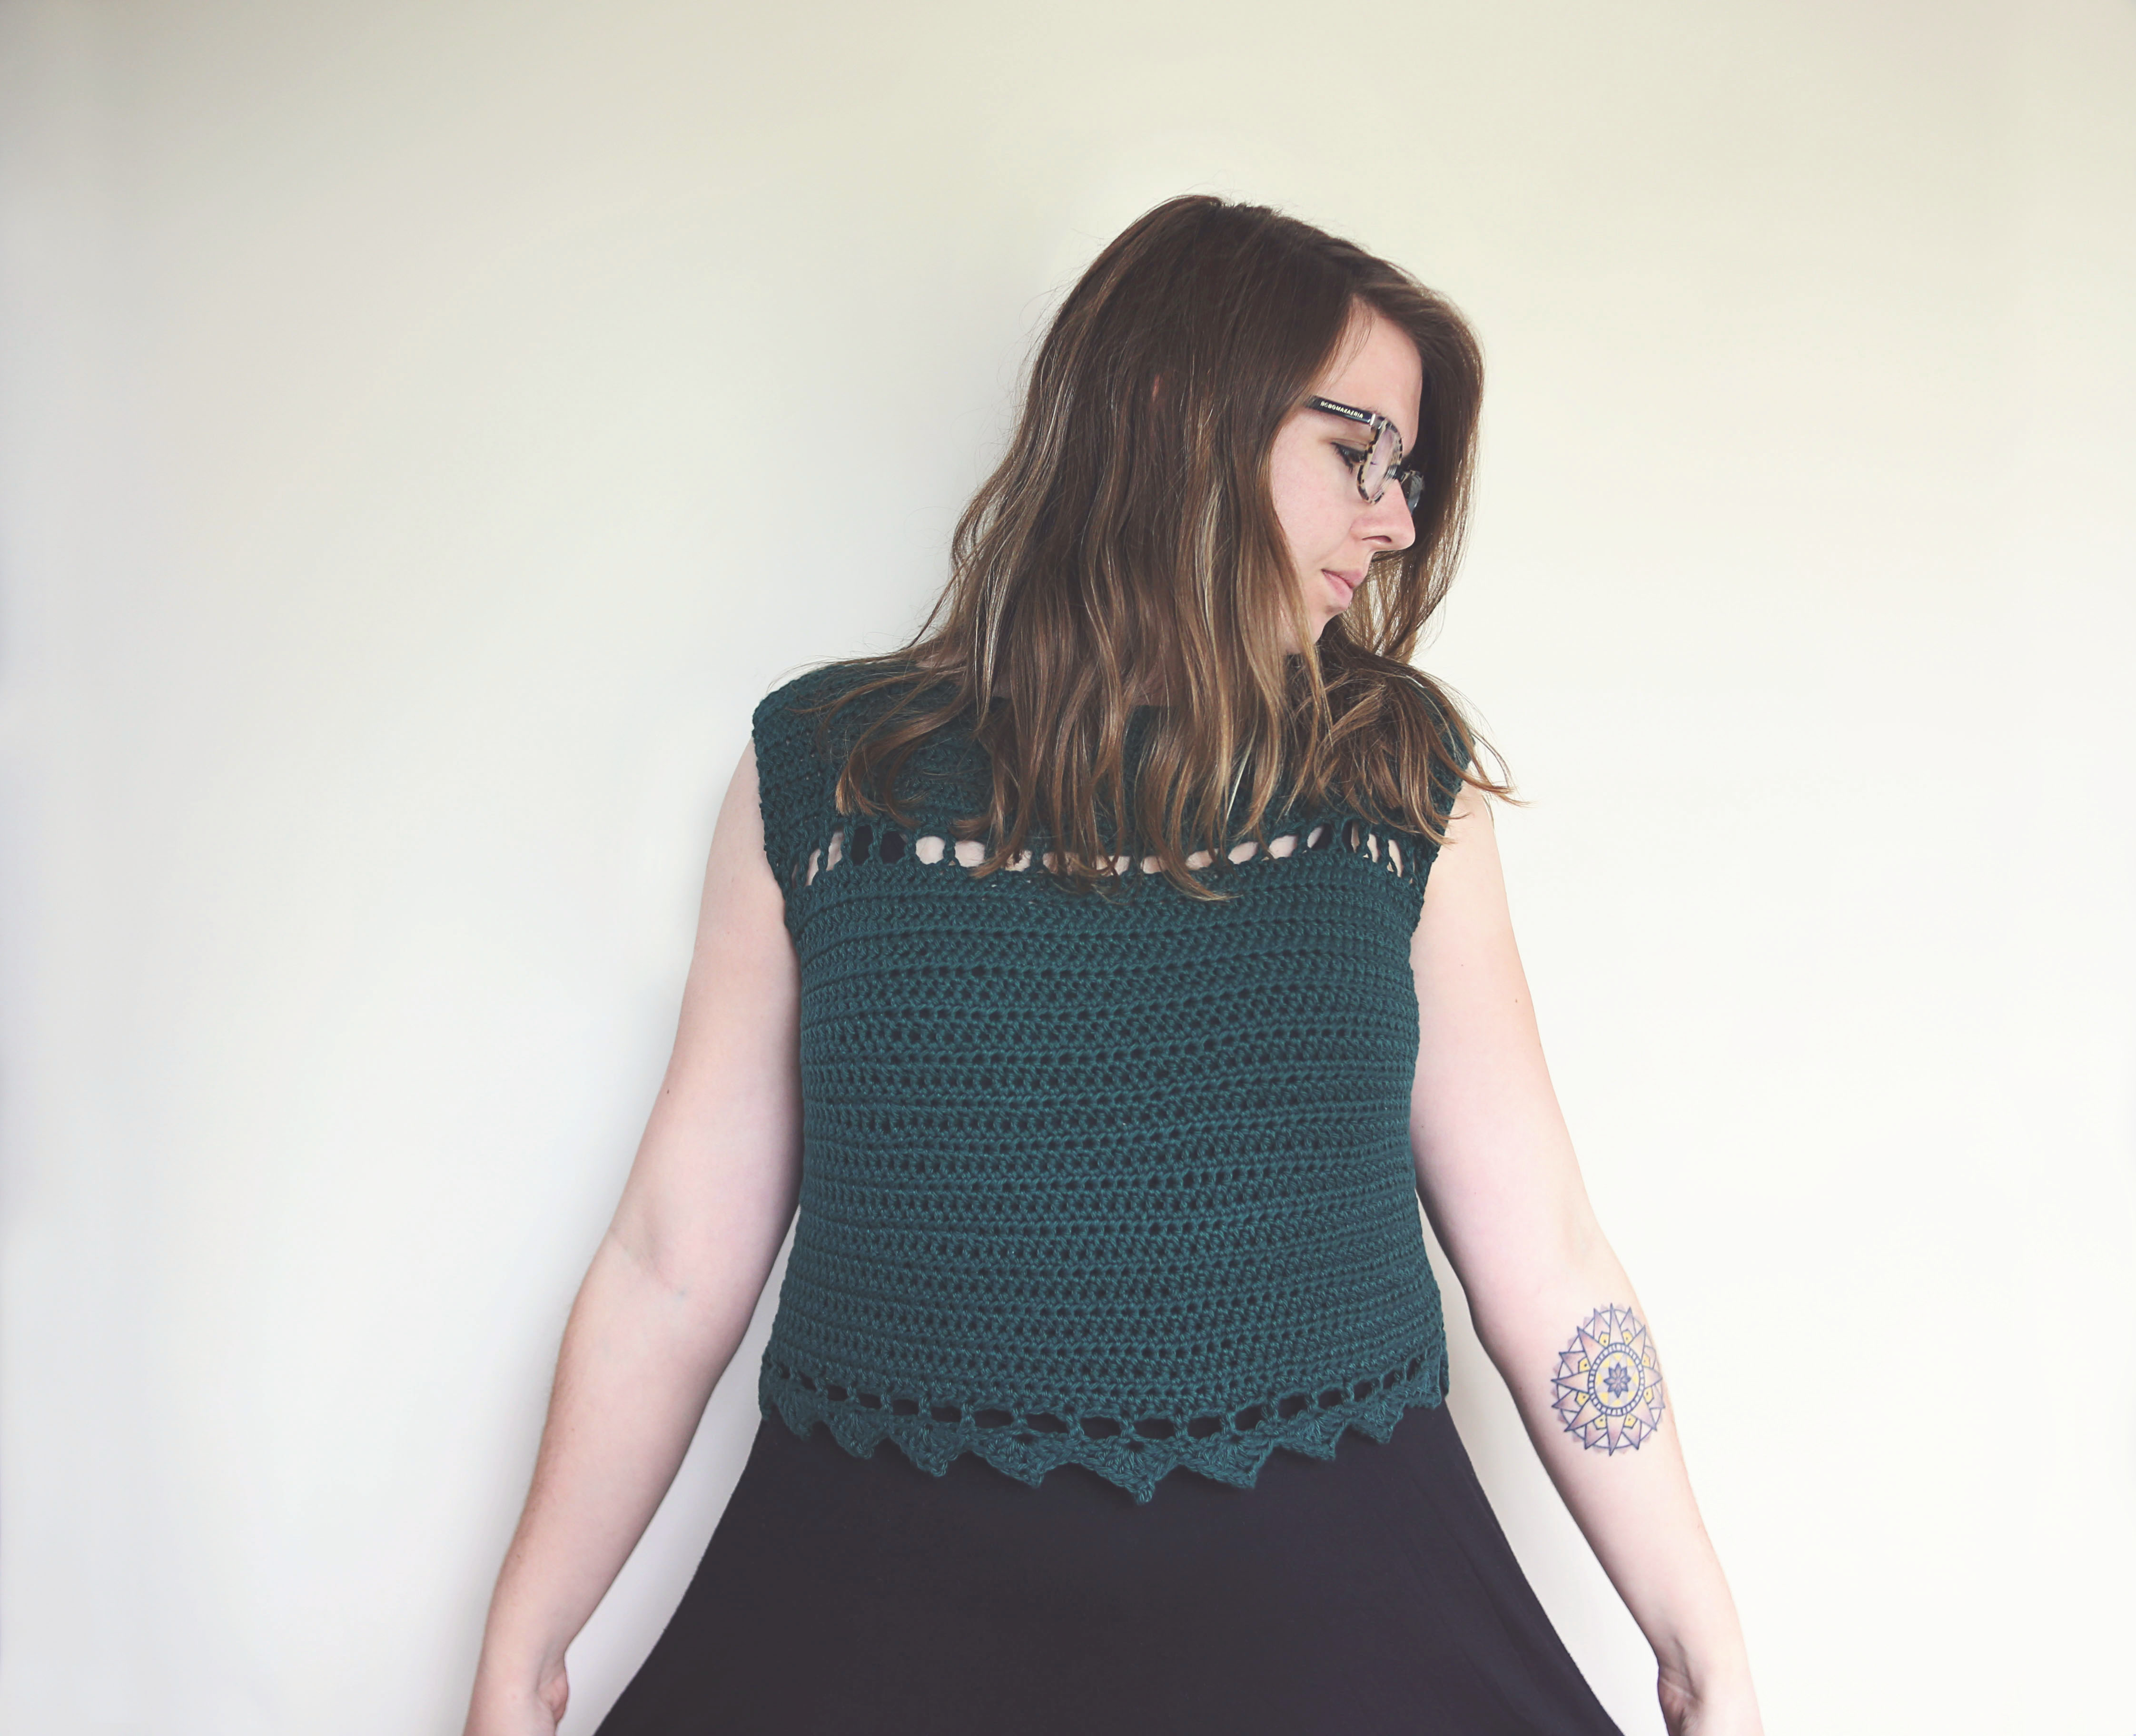
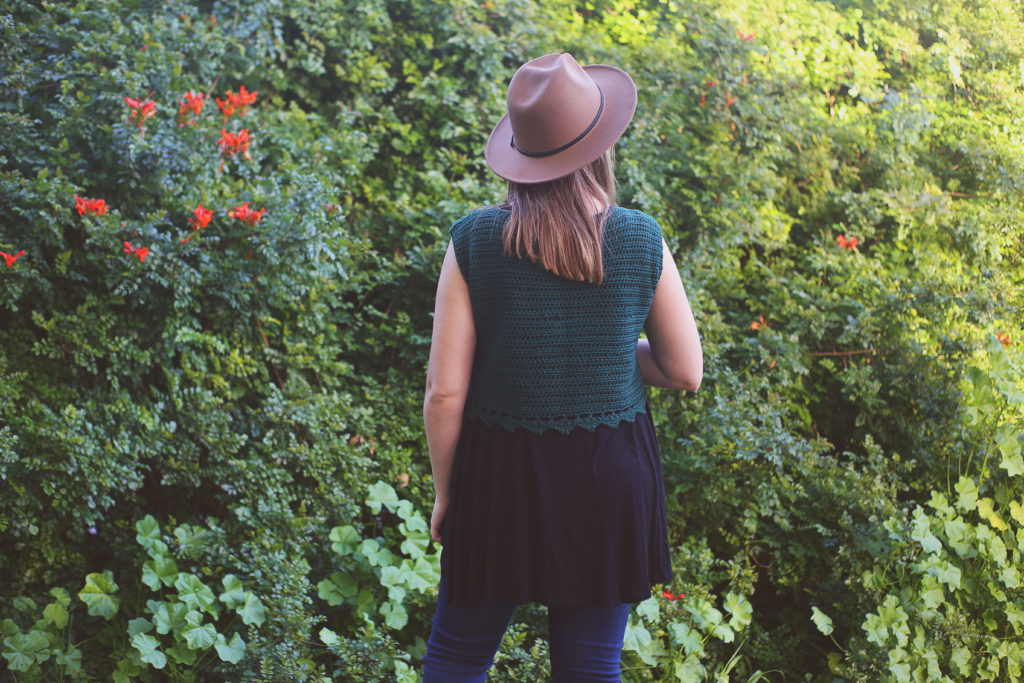
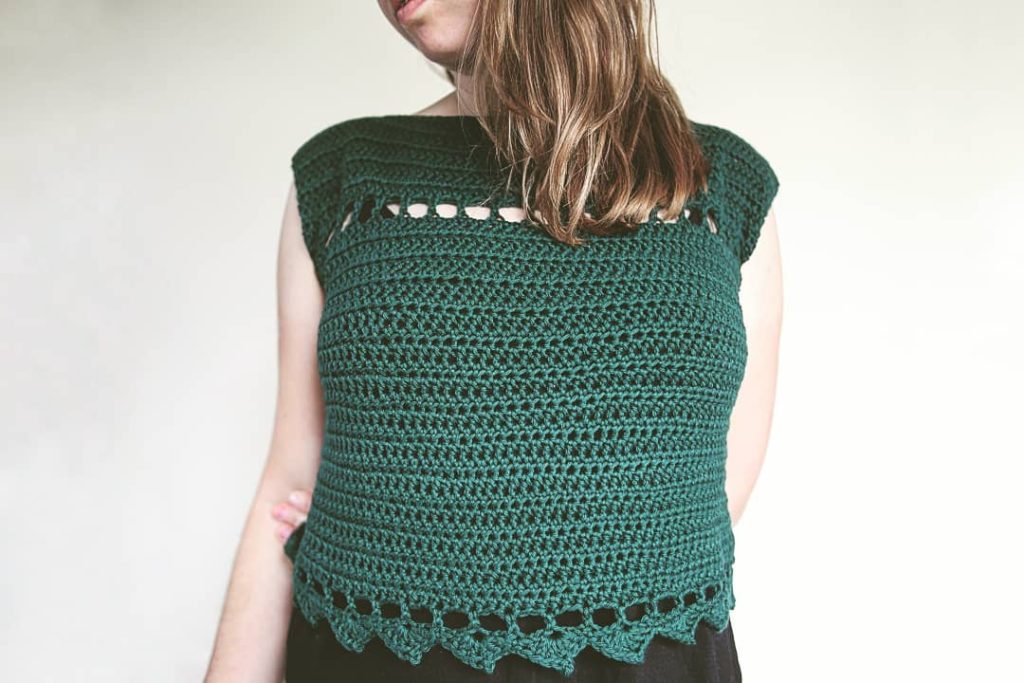
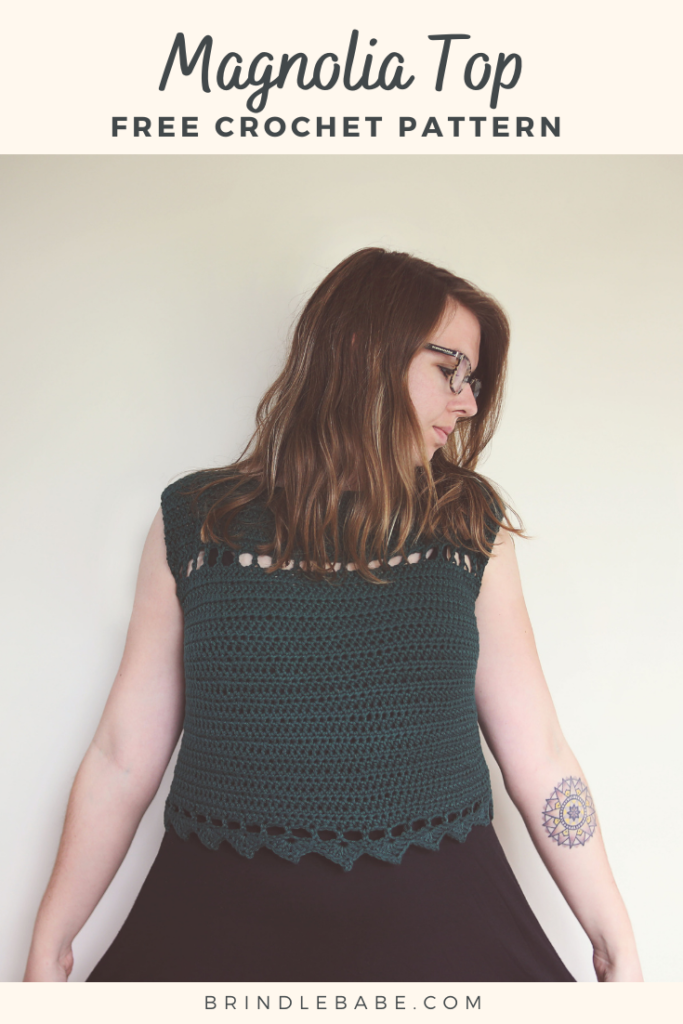
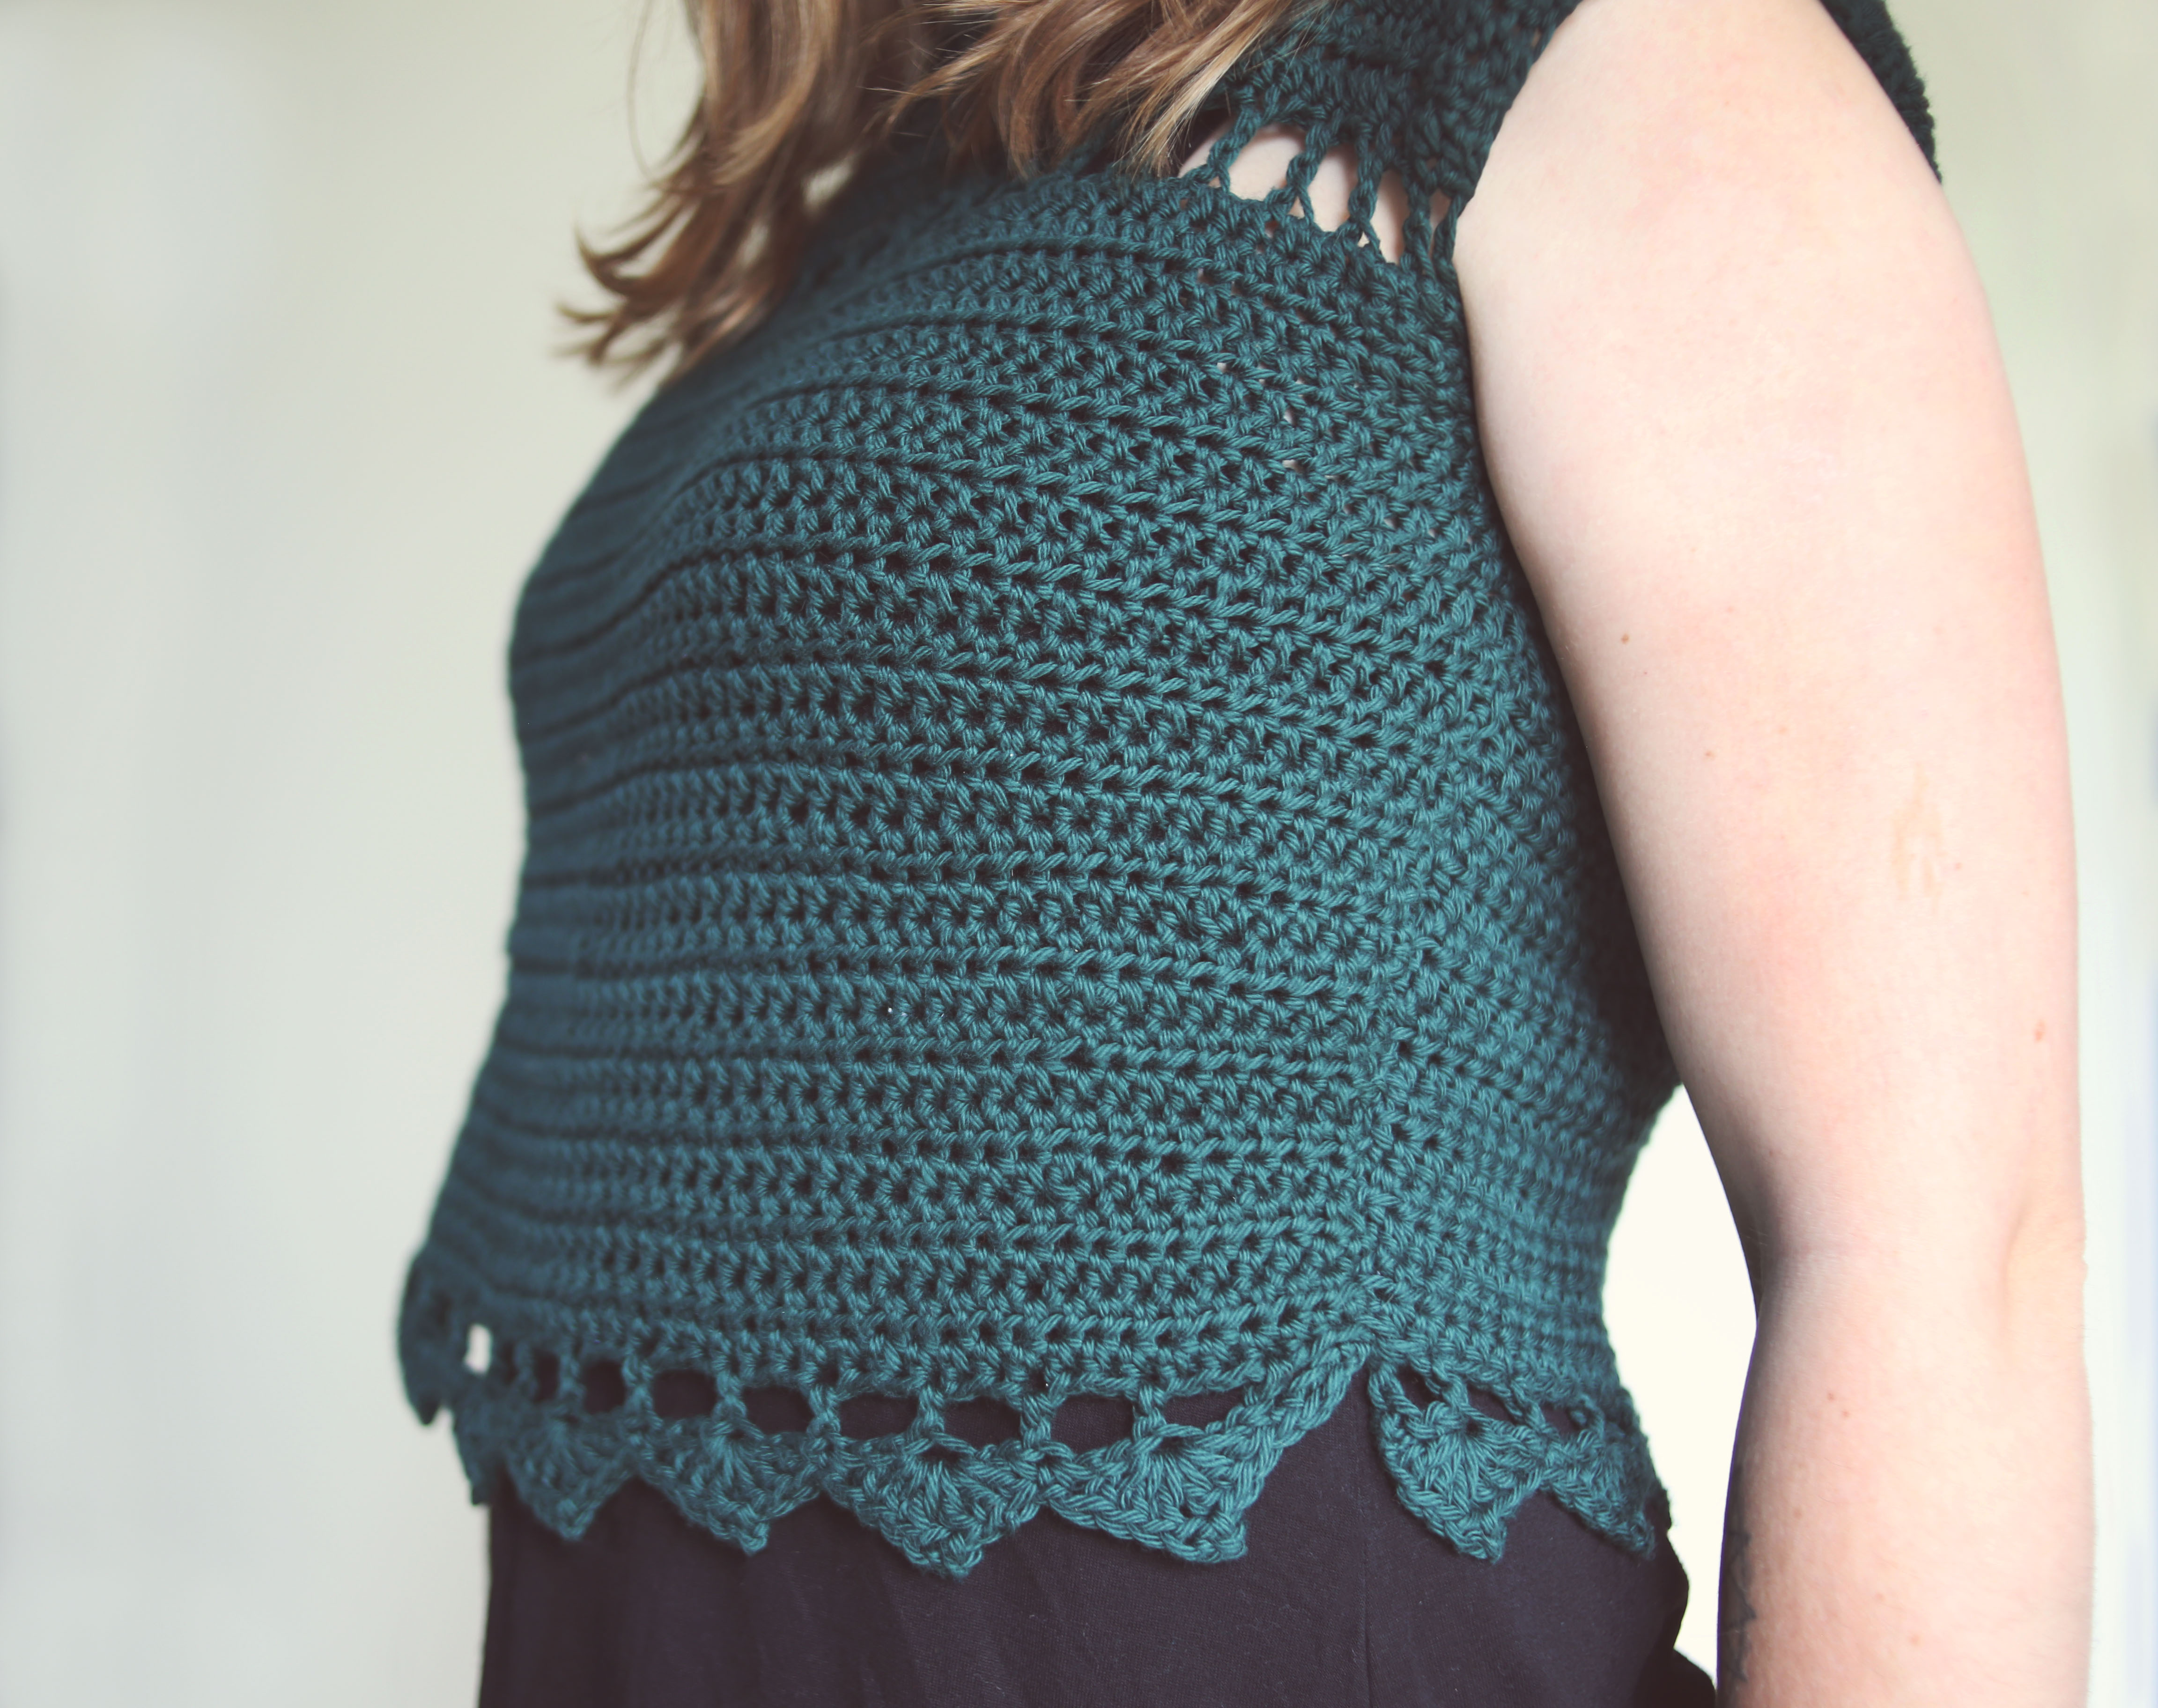
Magnolia Crop Top

I am so excited to finally share this pattern with you! I’ve struggled alot to get to this pattern live. I started designing this pattern in the summer of 2018 when I newly discovered how amazing cotton yarn was. I spent most of 2018 learning more about different yarn fibers, pattern reading & designing before starting this endeavor and I’m so glad I did. I absolutely fell in love with cotton and I knew my first garment pattern had to be cotton.
I’ve learned through the process of this pattern that we can so often be our own worst enemies. I felt like I had failed because I’ve pushed back the release date twice. But you know what we can’t help it when life and anxiety decides to get in the way. I’ve learned that my well being is more important than anything else and this whole journey is not about any rigid expectations. I started this as an escape from those expectations and I ended up putting them on myself. We can so easily project unhealthy things onto ourselves and its so important to recognize those before it festers. As I get older and the years fly by faster every year I see how important it is to not rush to the finish line but enjoy this journey we’re on because you only get one shot at this.
“Life moves pretty fast. If you don’t stop and look around once in a while, you could miss it.” -Ferris Bueller
So now that I’ve taken the time to perfect the sizing and design I’m so happy to finally unveil the Magnolia crop top!

This contains affiliate links that support Brindle Babe Designs content.
Pattern
-Pin the pattern for later here
-Get a copy of the ad free printable pdf pattern here
Materials
Hobby Lobby’s I love this cotton! (Weight: 4, Medium- 3.5 oz, 180 yds) 2(3,3,4,5) skeins.

US Size 5.0 mm (H) crochet hook, or size needed to achieve gauge.
Scissors
Tapestry Needle
Stitch markers
Abbreviations
sc- Single Crochet
hdc- Half Double Crochet
dc- Double Crochet
sl st- Slip Stitch
ch- Chain
fdhdc- Foundation Half Double Crochet (watch the video tutorial here)
Gauge 14 sts x 11 rows= 4 inches in hdc.
Measurements
Bust: 28 (32, 36, 40, 44) inches.
Length (including picot edging): 15.5 (15.5, 16.5, 16.5, 17.5) inches.
Armhole: 6 (7, 7, 8, 8) inches.

Notes
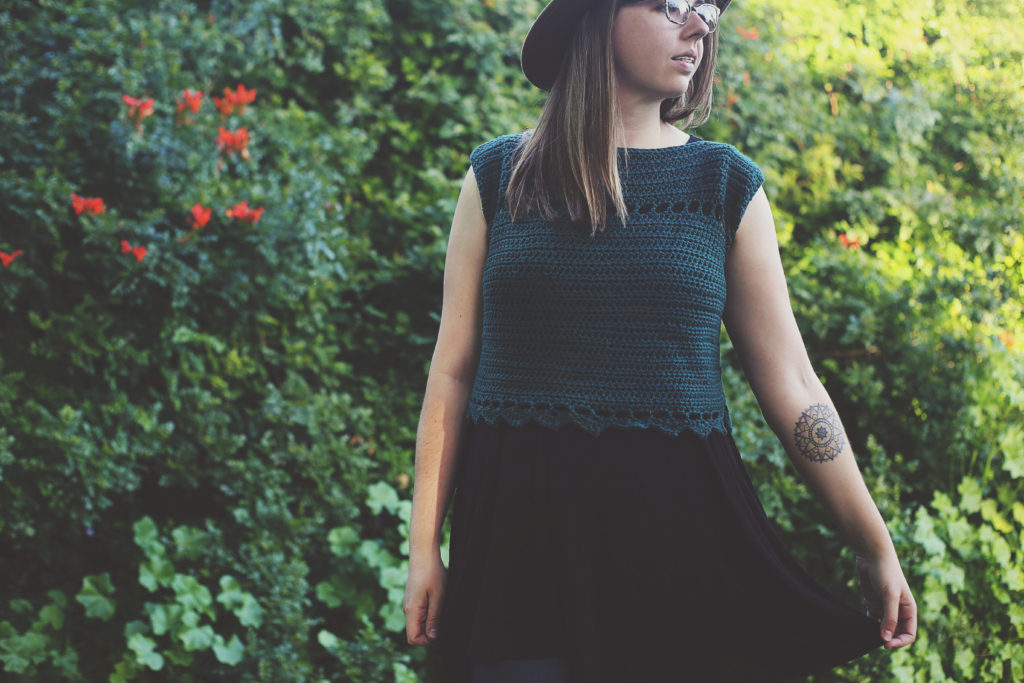
This top fits true to size. For reference, model is 5’7” with a 36 inch bust and wearing the Magnolia Crop top in the size Medium.
Stitch counts and measurements are written as XS(SM,M,L,XL). If you are between sizes, please size up.
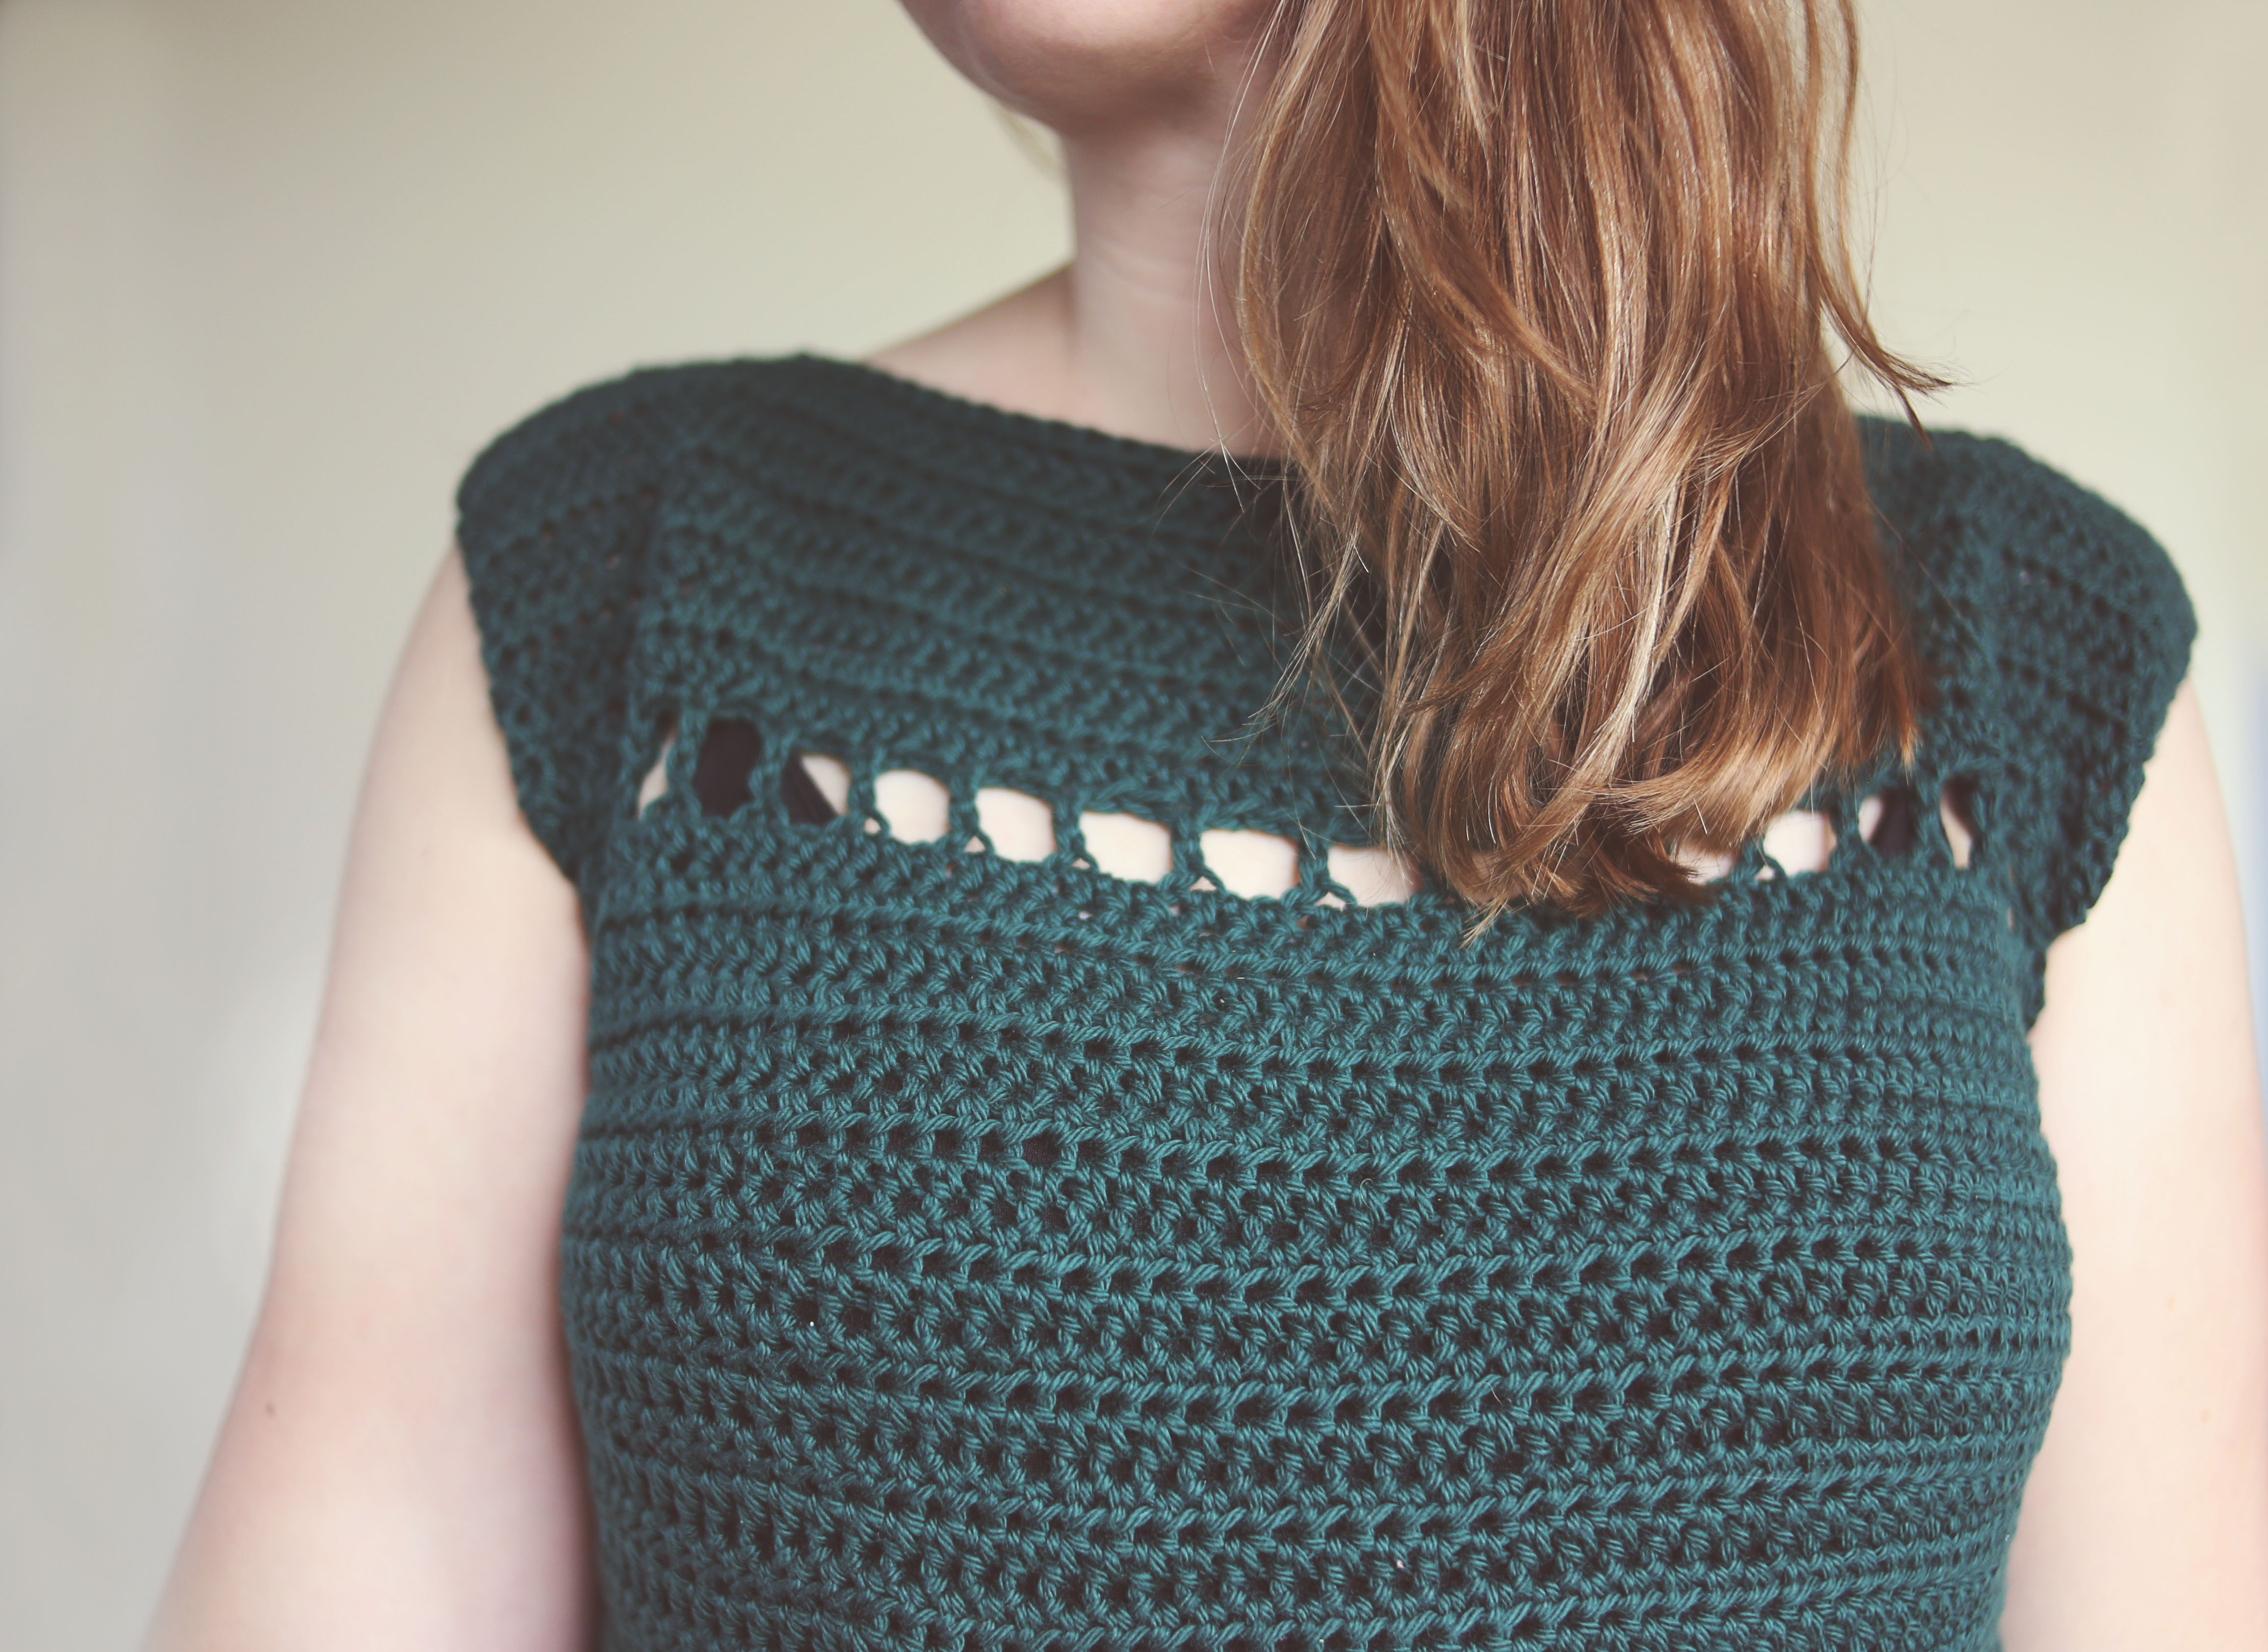
Pattern is worked from the top down in 2 panels and then seamed together. The 2 panels are not identical with the front panel having a window row towards the top. There is a split hem at the edging of the top.
Turning chain does not count as a stitch. When working the next row after the window stitch each chain “link” in a chain space is treated as an individual stitch.
Pattern
Front Panel
Row 1: Fdhdc 48 (57, 63, 69,78) sts. If you are struggling with the foundation half double crochet please see the video below.

Row 2: ch 1, turn, hdc into each stitch across. (48, 57, 63, 69,78) sts
Repeat row 2 until you reached the following number of rows:
X-Small- work to row 10
Small- Work to row 10
Medium- Work to row 12
Large- Work to row 12
X-Large work to row 14
Window stitch: ch 4, turn, skip 2 sts, dc into the next st, *ch 2, skip 2 sts, dc into the next st* repeat to the end. Note: this stitch counts as 2 rows, keep this in mind if you add more rows to your size. Both panels should match in length.
Repeat row 2 again until you reach the correct length for your size:
Note if you would like to add more length, add more hdc rows to your size here.
X-Small- work to row 36 or until total length is 14 inches.
Small- Work to row 36 or until total length is 14 inches.
Medium- Work to row 39 or until total length is 15 inches.
Large- Work to row 39 or until total length is 15 inches.
X-Large work to row 42 or until total length is 16 inches.
Edging
After you have reached the correct number of rows for your length, we will start working the edging.
Ch 4, turn, skip 2 sts, dc into the next st, *ch 2, skip 2 sts, dc into the next st*, repeat to the end.
Ch 1, turn. *skip 2 sts [3dc, ch 3, sl st into first ch, 3dc] all into the next dc, skip 2 sts, sc into the next dc* repeat until you are left with 2 sts, dc into the last st of the row.
Leave about an 18 in tail for seaming
Back Panel
Row 1: Fdhdc 48 (57, 63, 69,78)
Row 2: ch 1, turn, hdc into each stitch across. (48, 57, 63, 69,78)
Repeat row 2 until you reach the following number of rows:
Note if you would like to add more length, add more hdc rows to your size here.
X-Small- work to row 38 or 14 inches.
Small- Work to row 38 or 14 inches.
Medium- Work to row 41 or 15 inches.
Large- Work to row 41 or 15 inches.
X-Large work to row 44 or 16 inches.
Repeat the same edging rows from the front panel.
Leave about an 18 in tail for seaming

Seaming
We will now sew up your top from the inside. Assemble your 2 panels with right sides facing each other and place stitch markers on the left and right side corners at the top of your panels to hold the 2 panels together.
Note: Before sewing in your tails I recommend trying on your garment to ensure your arms and head fit through comfortably.
Shoulder Seams: At the top of your panels count in from the left and right side ends and place a marker on the number of stitches for your size:
X-small: 10 Stitches or 3 inches on both sides.
Small: 10 Stitches or 3 inches on both sides.
Medium: 14 Stitches or 4 inches on both sides.
Large: 14 Stitches or 4 inches on both sides.
X-Large: 17 Stitches or 5 inches on both sides.
Using the mattress stitch, seam up the correct number of stitches starting from the outside working in. weave in your tail.
Side Seams: At the top of your panels count down along both sides until you reach the correct number of rows for your armhole size and place a marker.
X-small: 16 rows or 6 inches.
Small: 19 rows or 7 inches.
Medium: 19 rows or 7 inches.
Large: 22 rows or 8 inches.
X-Large: 22 rows or 8 inches.
Using the mattress stitch, seam up the correct number of rows starting from the bottom and working up (do not include the bottom edging! The bottom edging will be your split seam). Weave in your tail. Please see diagram below for help with placement of stitch markers and seaming.

Turn your top inside out and there you have it! I’d love to see your finished pieces! Please tag me if you share photos on Instagram by using #MagnoliaCropTop or @BrindleBabeDesigns