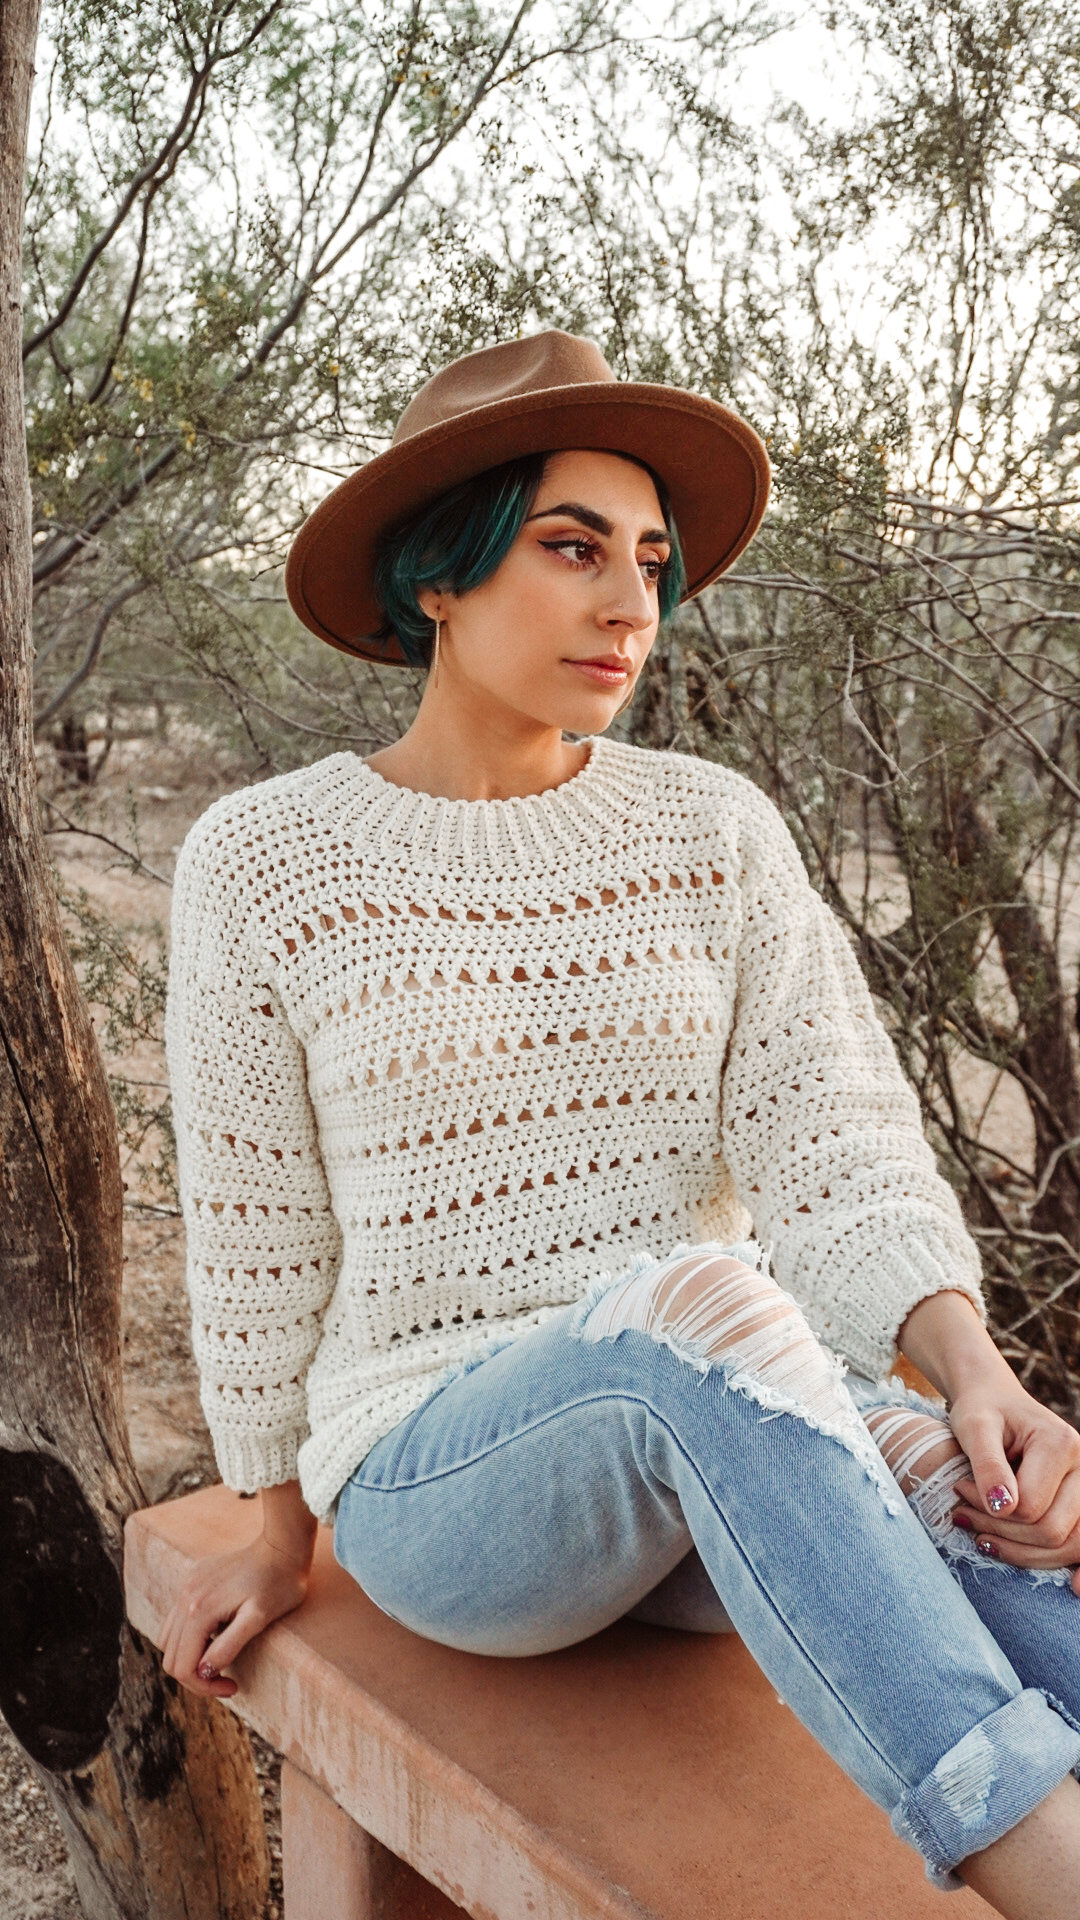
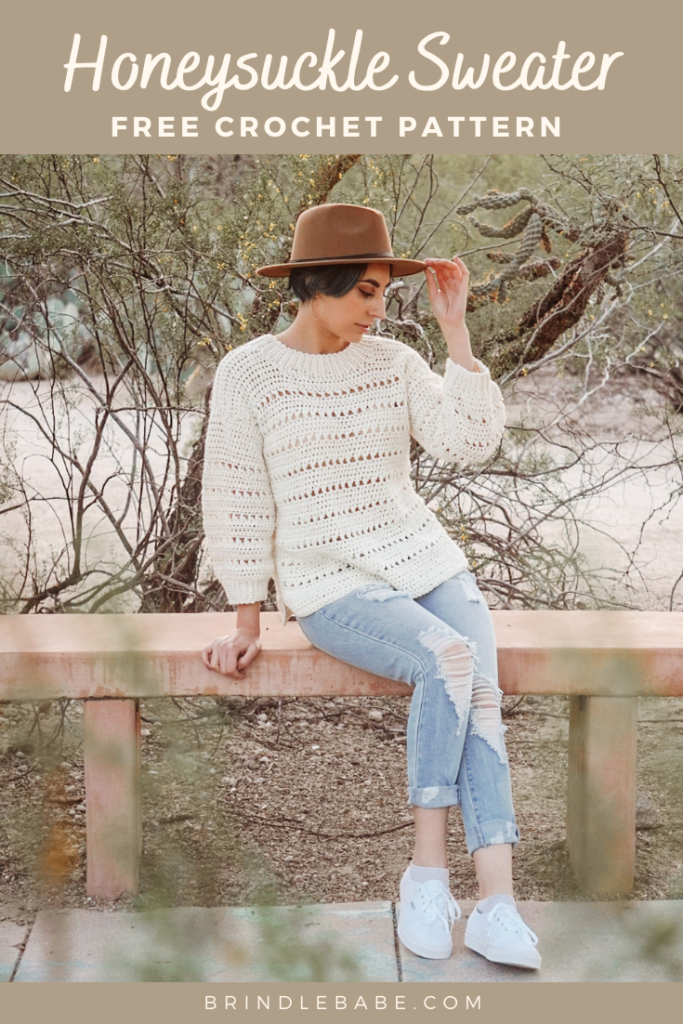
Spring Lace Crochet Sweater – Honeysuckle Sweater

This post contains affiliate links that help support Brindle Babe Designs Content.
If you would like to get straight to the pattern scroll down!
Who’s ready for spring? I am but I’m also not because that means our hot Summer days here in Arizona are right around the corner. Arizona winters are literally the best and it’s what I love most about my new home state. But dang you can’t beat those beautiful summer sunsets.
This lightweight crochet pullover pattern transitions perfectly between seasons and has a simple construction.
This sweater has a simple construction made up of 4 pieces. The 2 body panels are worked exactly the same. The 2 sleeve panels are worked flat then you simply seam them to the body and seam them along the bottom to finish off. The best part is there are no decreases or increases anywhere! The whole sweater is just made up of easy flat panels.

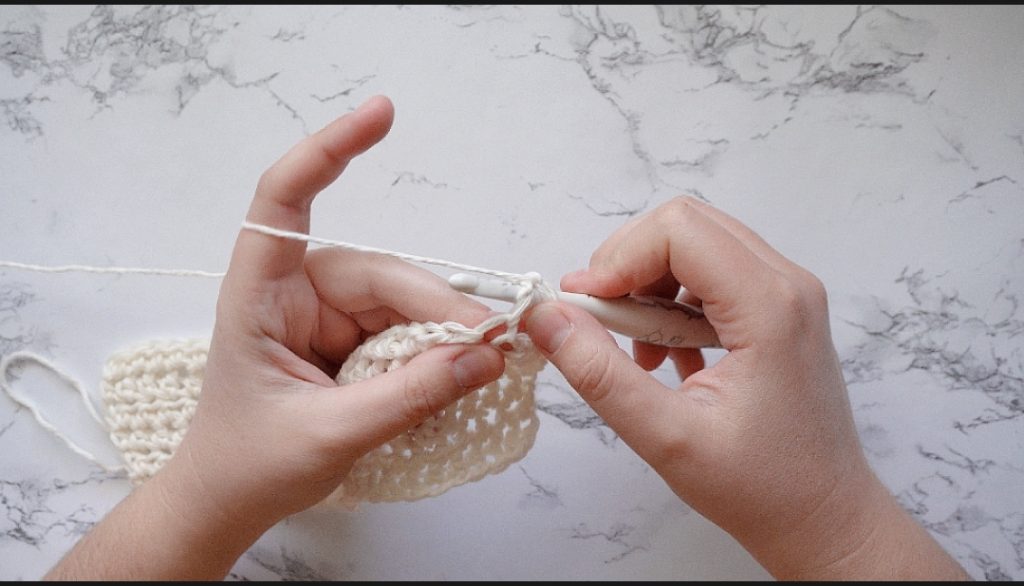
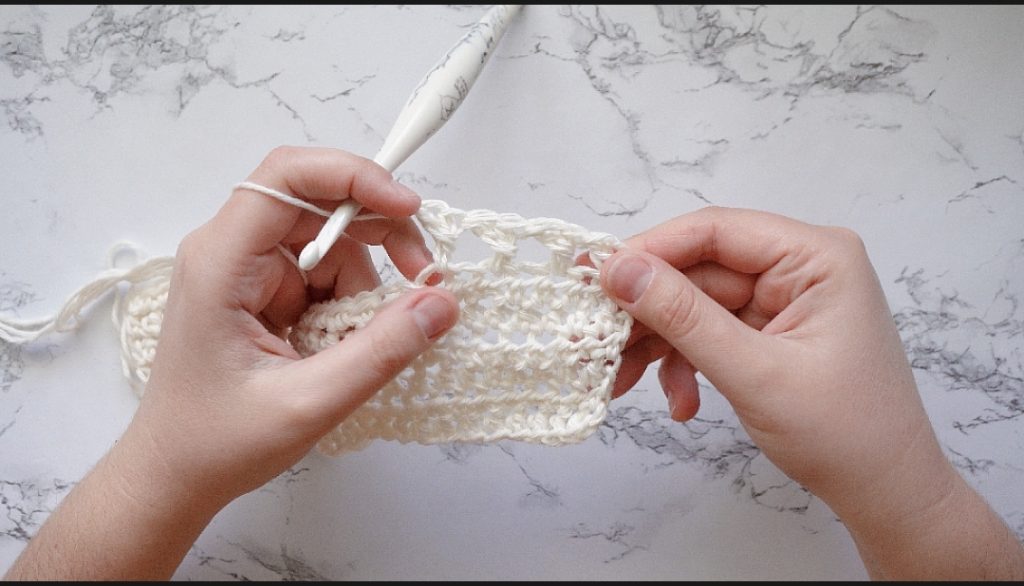
Most of the pullover is worked in half double crochet. This makes it a beginner friendly piece but you may just learn a new stitch that’s not hard to get down. Don’t let the lace stitch scare you away it’s worked easily. I even give you step by step instructions as well as a video tutorial to walk you through.
What can I say about Comfy Cotton Blend? It is one of my top go to yarns for Spring and summer pieces. It has the perfect lightness and comfort to make beautiful pieces while keeping it light. What I also love about Comfy Cotton Blend is it comes with almost 400 yards in each cake! I love yarns that come with more yarn, less skeins I have to buy. I heard a little rumor that this yarn is being discontinued. I sure hope it’s not true, but I would buy up as much as you can while you still can.


More Free Tutorials
Subscribe to my channel for more crochet and knit tutorials!

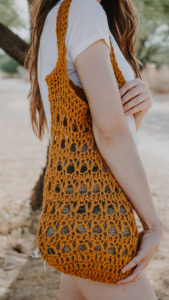
More free spring crochet patterns you might like:
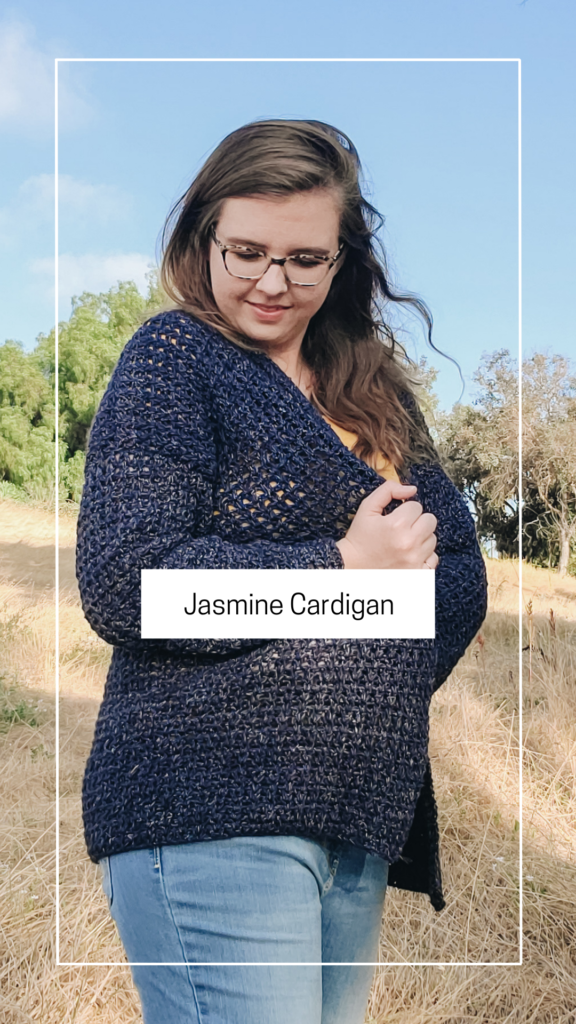
> Free Spring Crochet Sweater Pattern <
- Purchase the ad-free printable PDF here on LoveCrafts Or Etsy
- Add the pattern to your Ravelry favorites
- Pin for later here
- Find the full pattern video tutorial here
Materials
- 6.50mm & 5.50mm Crochet Hook
- Tapestry Needle
- Scissors

Yarn 2(3,3,3,4,4,4) skeins Lion Brand Comfy Cotton Blend, Weight (3) DK, 392 yards
Abbreviations (US terms)
Dc- Double Crochet
Wdc- Wrapped double crochet
St- Stitch
Hdc- Half Double Crochet
Sc- Single Crochet
Scblo- Single Crochet Back Loop Only
Sk- Skip
Slst- Slip Stitch
Notes
Skill Level– Intermediate
Gauge– 12 stitches X 10 Rows In half double crochet using 6.50mm hook.
Sweater is worked in 4 pieces, 2 body panels and 2 sleeves. Both body panels are identical. Each body panel is worked from the bottom up. Sleeves are worked flat from the top down, they are then attached to the body panels and seamed along the bottom. Chain 1 and 2 at the beginning of the row does not count as a stitch. Pattern is made up of a 4 row repeat. The sweater is designed with 4” of positive ease. If you are in between sizes please size up.
Sizes– XS (S, M, LG, XL, 2X, 3X)
Measurements
| XS | S | M | L | XL | 2X | 3X | |
| Chest | 34” | 38” | 42” | 46” | 50” | 54” | 58” |
| Length | 19.5” | 20” | 20.25” | 20.5” | 21.75” | 21” | 21” |
| Armhole Depth | 7.5” | 7.5” | 8.5” | 8.5” | 9.5” | 10.5” | 10.5” |
| Sleeve Length | 14” | 14.5” | 14.5” | 15” | 15.5” | 16” | 16” |
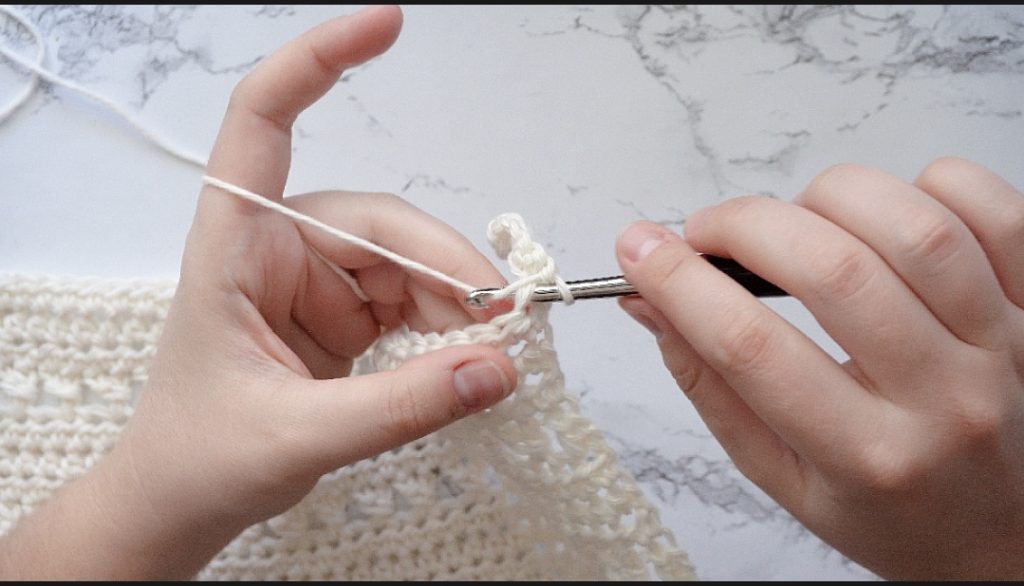
Special Stitch
Wrapped Double Crochet: Double crochet 1, double crochet around the last worked stitch. See this video for help with this stitch.
Pattern
Body Panels
Make 2
Using 6.50mm hook
Ch 49 (55, 59, 65, 71, 77, 81) sts
Step 1: hdc into the the 2nd st from the hook, hdc each st across. [48, 54, 58, 64, 70, 76, 80]
Step 2: ch 1 turn, hdc each st across.
Step 3: Repeat step 2 until you have a total of 6 (6, 8, 8, 8, 9, 9) rows
Step 4: ch 2, dc into the st next to your hook, *sk 1 st, wdc, Repeat from * to the last 2 sts, wdc, dc into last st.

Step 5: ch 1, turn, hdc each st across.
Step 6: Repeat step 5
Step 7: Repeat step 5
Step 8: Repeat steps 4-7 until you reach 34 (35, 36, 36, 37, 38, 38) rows total.
*If you would like your sweater to be longer or shorter, add or remove rows here before working shoulder shaping.
Step 9: ch 1 turn, hdc 11(14,15,18, 20, 23, 24) sts
Step 10: Repeat step 9 for 5 (5, 5, 6, 6, 6, 6) rows
Step 11: Attach yarn to opposite edge and repeat steps 9-10.
Sleeves
Make 2
Using 6.50mm hook
Ch 45 (45, 47, 51, 57, 63, 63) sts
Step 1: hdc into the 2nd st from the hook. Hdc each st across. [44, 44, 46, 50, 56, 62, 62]
Step 2: ch 1, hdc each st across
Step 3: Repeat step 2 until you have a total of 6 (6, 8, 8, 8, 9, 9) rows.
Step 4: ch 2, dc into the st next to your hook, *sk 1 st, wdc, Repeat from * to the last 2 sts, wdc, dc into last st.
Step 5: ch 1, turn, hdc each st across.
Step 6: Repeat step 5
Step 7: Repeat step 5
Step 8: Repeat steps 4-7 until you reach 26 (27, 27, 28, 29, 30, 30) rows total.
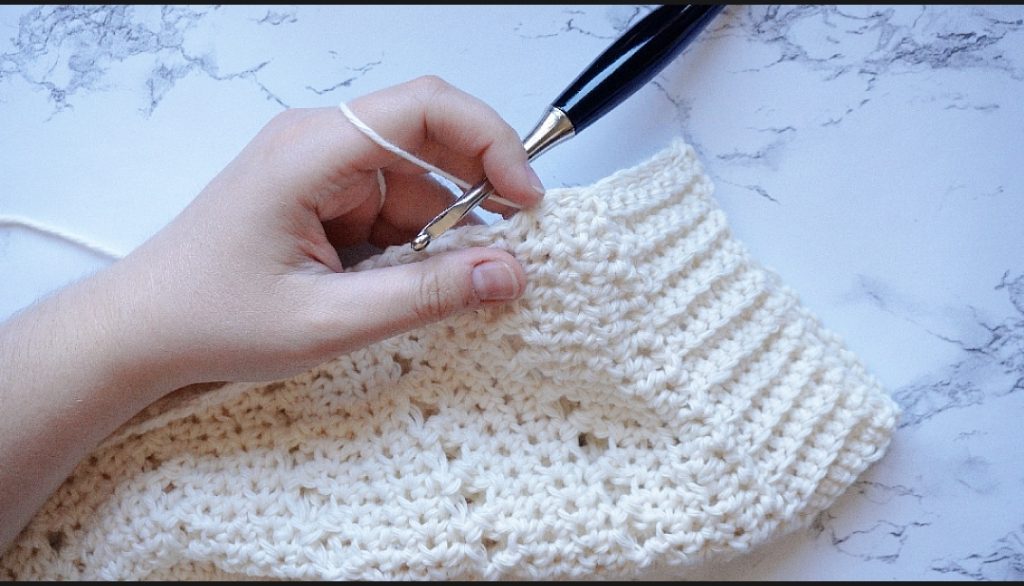
Sleeve Ribbing
Change to 5.50mm crochet hook. Don’t cut yarn.
Step 1: ch 9, sc into 2nd st from the hook working back towards the edge of your sleeve, sc each st across, slst 2 sts along the edge of the sleeve.
Step 2: ch 1, turn, sk 2 slsts and scblo into last worked sc’s, scblo each st across.
Step 3: ch 1, turn, scblo each st across, slst 2 sts along the edge of the sleeve.
Step 4: Repeat steps 1-4 until all sts along the edge of your sleeves are worked.
Seaming
Step 1: Line up your 2 panels on top of each other. Seam the panels together along the top of the shoulder.

Step 2: Lay your panels flat not placed on top of each other, line up your sleeves flat to the body panel, place a stitch marker on the center st of your sleeve and seam to your body panel.
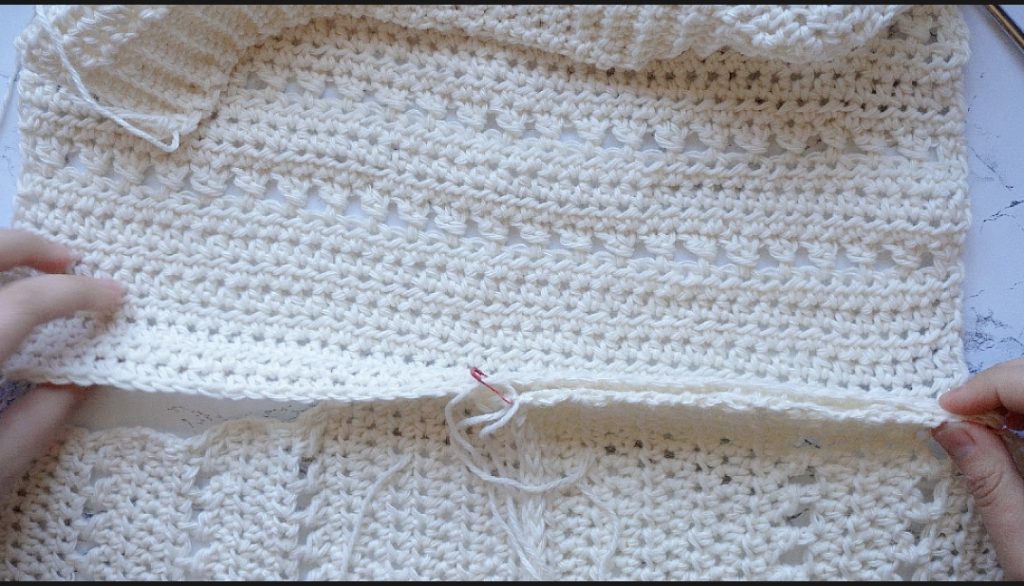
Step 3: Seam sleeves together along the bottom edge to join.
Step 4: Seam sides of body panel from the base of the armhole to until you reach the first 6 (6, 8, 8, 8, 9, 9) rows on the bottom half of your panels.
Collar
Using 5.50mm hook
Step 1: Attach yarn to your right side shoulder seam, ch 9 sts.
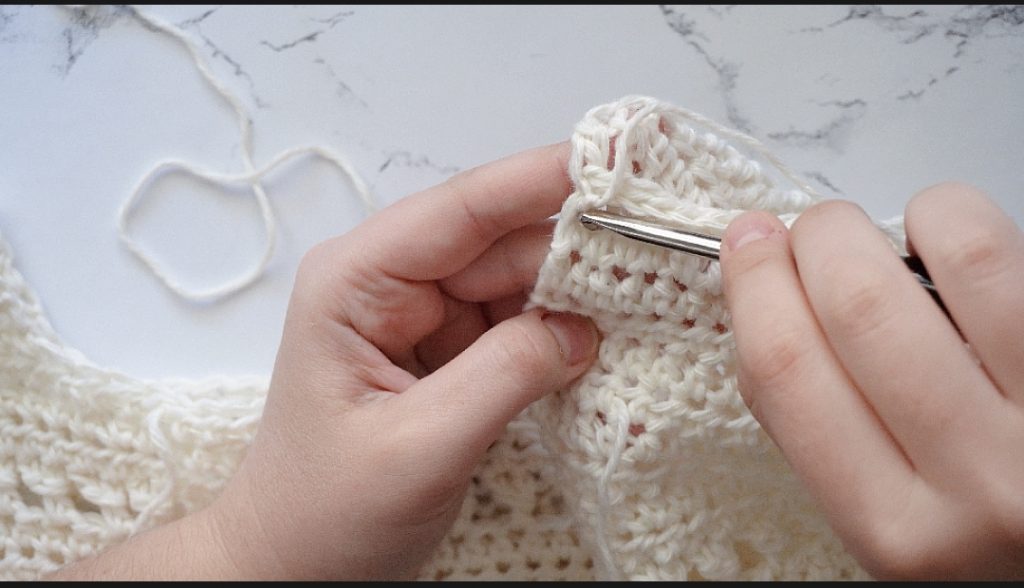
Step 2: sc each ch, slst 2 st along body panel edge previously worked.
Step 3: ch 1, turn, sk 2 slsts and scblo into last worked sc’s, scblo each st across.
Step 4: ch 1, turn, scblo each st across, slst 2 sts along edge.

Step 5: repeat steps 3-4 all the way across.
Step 6: Seam collar ends together.
You’re finished!