This post contains affiliate links that help support Brindle Babe DesignsContent.
If you would like to get straight to the pattern scroll down!
Video tutorial is located at the end of this post!
Anyone else feel like 2021 has just been a blur? like it was just spring last month and now we are entering Fall. The holidays are right around the corner and I am so not remotely ready for that. My goal for the year has been to put less expectations on myself, because I can so often be own worst enemy. That is likely why you haven’t seen as many patterns from me this year. I felt like I was putting unrealistic expectations on myself and it was just burning me out. Patterns take a lot of work to design, make and release and I want each one to be my best work. I like all of my patterns to cater to everyone’s learning styles weather that is in a written pattern or video tutorial. So I am trying to prioritize quality over quantity. Plus having a lot of personal changes usually puts a wrench in my plans for patterns. So my suggestion to everyone these days is give yourself grace.
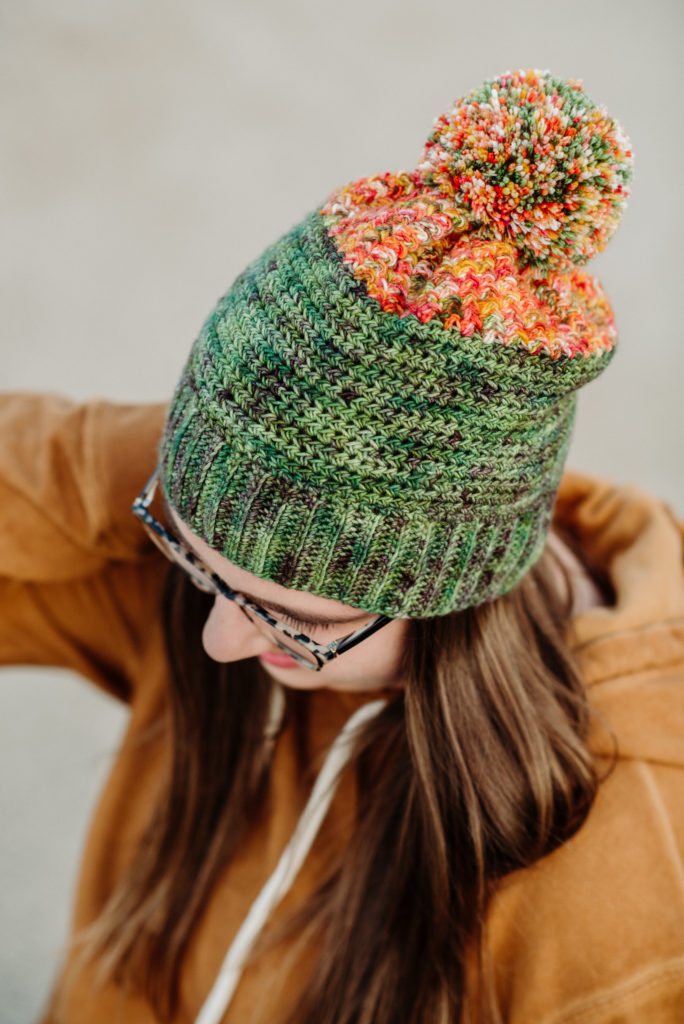
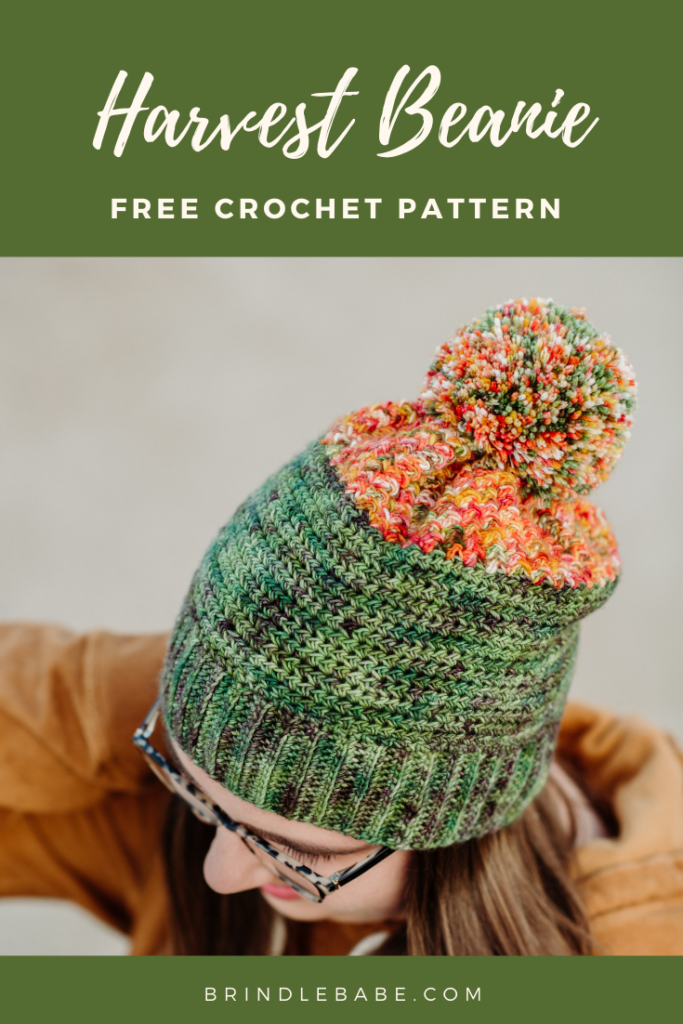
Last year the Harvest Beanie was a paid pattern through Furls and only available for a limited time. Well! this year I am bringing you the written pattern for FREE as well as a video tutorial. This pattern is beginner friendly and it’s a great pattern to use some of that beautiful hand dyed yarn you’ve had laying around for years. Or you can use a cozy Wool/ Alpaca blend like I did from
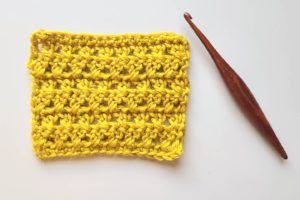
Hat body is worked in joined rounds. Each chain at the beginning of the row does not count as a stitch.
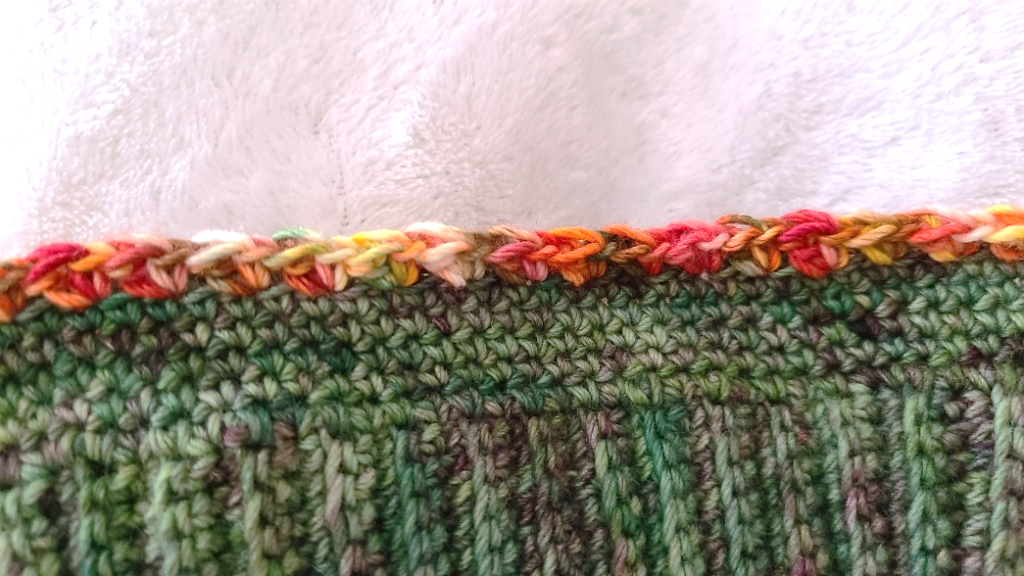
The brim is first worked flat then the 2 ends are joined, you then continue by working the bottom half of the hat body in color A and then changing to color B for the top half of the hat.
Pattern
Brim
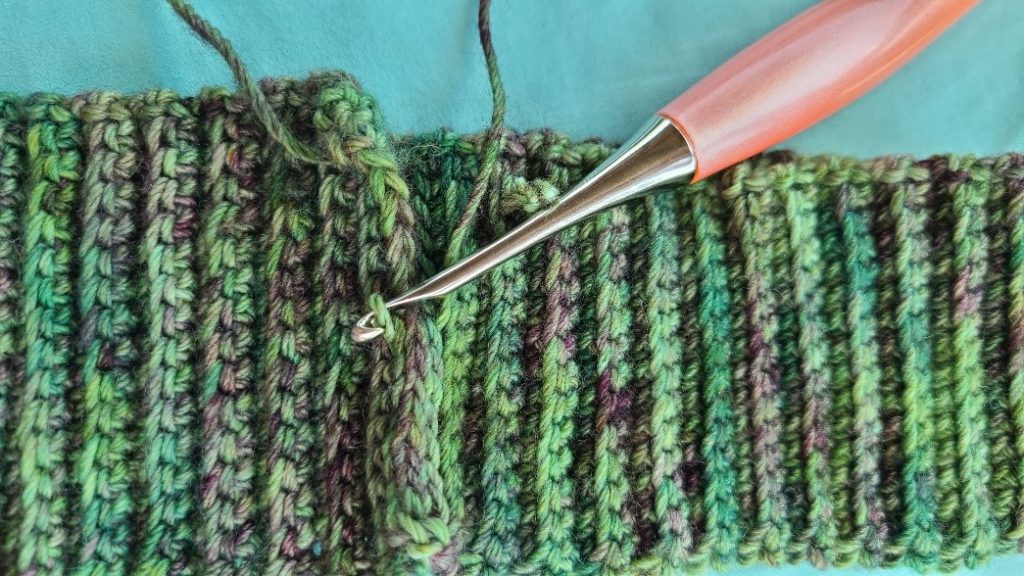
With color A ch 13
Step 1: Sc each st across. [12]
Step 2: Ch1, scblo each st.
Step 3: Repeat step 2 until you reach 15.5” long.
Step 4: Ch1, slipstitch each st across to join both ends together.
Hat Body
We will now work around the top of the brim
Step 1: Ch1, place a st maker, sc around, slip stitch to join first sc. [90]
Step 2: Ch1, hdc around, slip stitch to join.
Step 3: Repeat Step 2 for 12 more rows
Change to color B
Step 4: Ch2, dc into first st, *in the next st, [sc & dc] into same st, sk1 st, repeat from * around, dc into last st, slip to join first dc.
Step 5: Ch2, dc into first st, *[sc & dc] into the next sc from the previous row, repeat from* around, dc into last st, slip to join first dc.
Step 6: Repeat step 5 for 14 more rows.
Turn your work inside out
Step 7: Cut yarn leaving approx a 12” tail
Step 8: Take your tapestry needle and weave your tail in and out of your last row of sts until you get back to the beginning.
Step 9: Pull the end of the tail to cinch up the top closed, weave in your tail through the inside of your hat and tie off.
Step 10: Using your pom maker create a 2 colored pom by wrapping both color A and color B around at the same time.