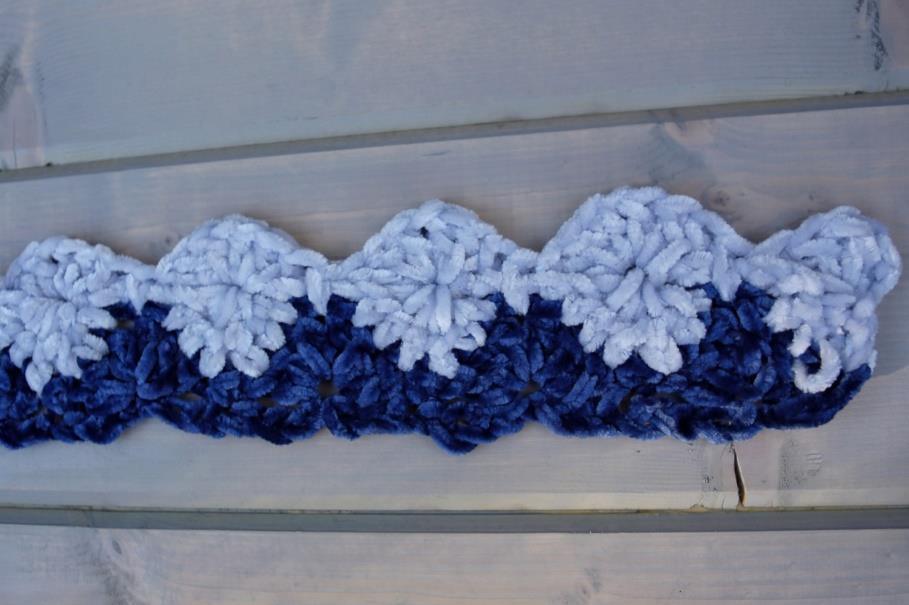
Snowflake Cowl


I’v been having so much fun blogging I’ve decided to make my crochet snowflake cowl pattern free for all my lovely followers!
The Design
This pattern uses the super cozy Bernat Velvet yarn because I just can’t get enough of the cozy. I got the idea for this design in the desert (of all places haha) I was thinking about things I love snow & winter being 2 of them, I wanted to include something I love into a design. Although Southern California doesn’t get very much snow I still love being able to take an hour drive to the mountains to play in the snow!
This contains affiliate links that support Brindle Babe Designs content.
Materials:
US Size 6.5 mm (K) crochet hook
Scissors
Tapestry Needle to weave in ends
1 Skein Color A: Bernat Velvet Yarn (77 yds Color A)
1 Skein Color B: Bernat Velvet Yarn (60 yds Color B)
About 140 yds total
Skills:
Single Crochet
Half double crochet
Double Crochet
Slip Stitch
Chain
Double Crochet Together
Abbreviations:
sc- Single Crochet
hdc- half double crochet
dc- Double Crochet
sl- Slip Stitch
ch- Chain
dctog- Double Crochet Together
st- Stitch
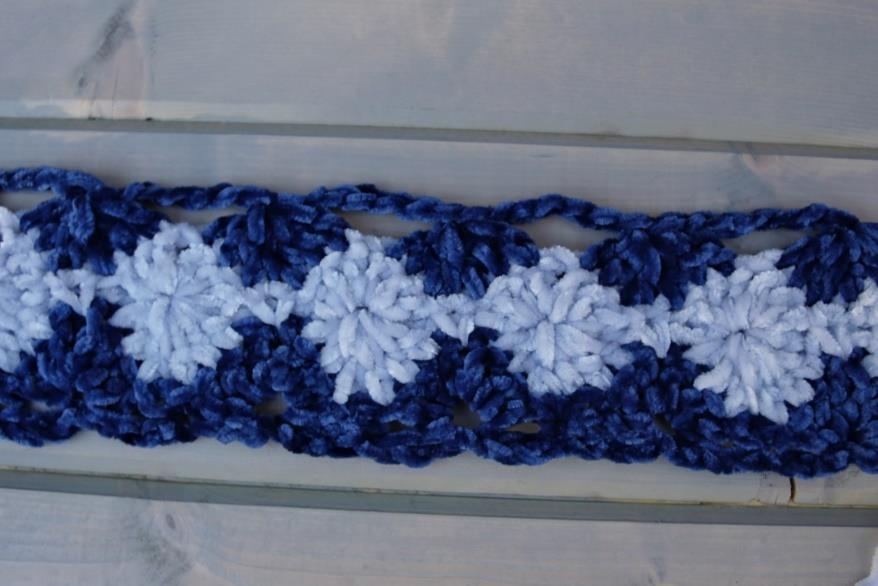
Gauge: Each “snow flake” should measure about 2 inches wide but gauge is not very important.
Measurements: 26 in long and about 11 inches tall.

Notes: This Cowl is worked flat from the bottom to the top and the ends are joined and seamed up together.
Pattern
ch 81
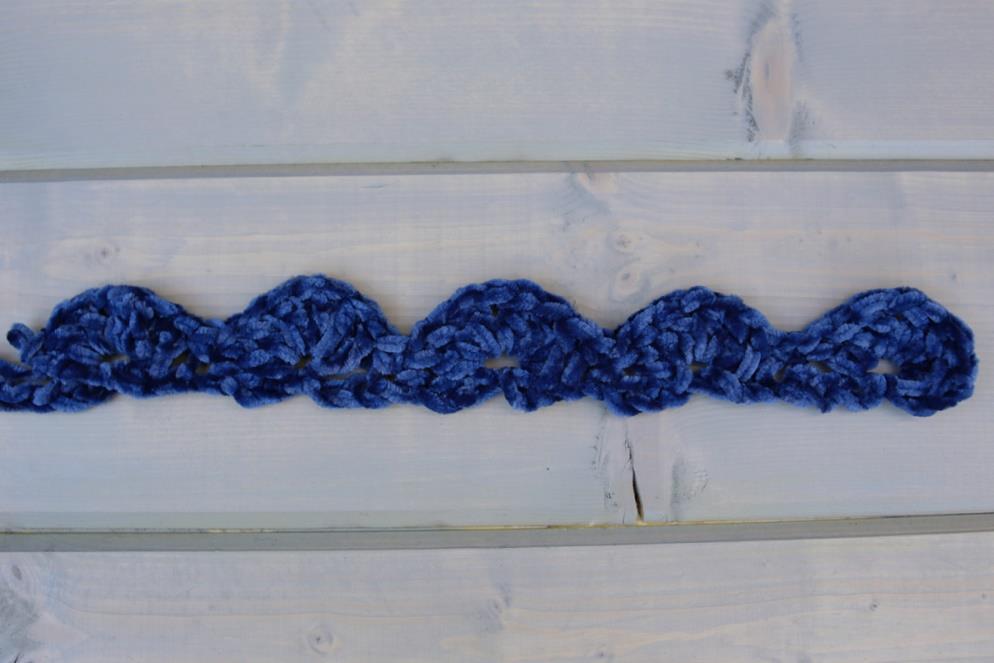
Row 1: Starting with color A, in the 5th chain from the hook work [3 dc, ch 1, 3 dc] into the
same ch space.* Skip 3 chs, sc, Skip 3 chs, [dc 3, ch1, dc 3] into the into the same ch
space.* Repeat to the end and join color B, turn work.

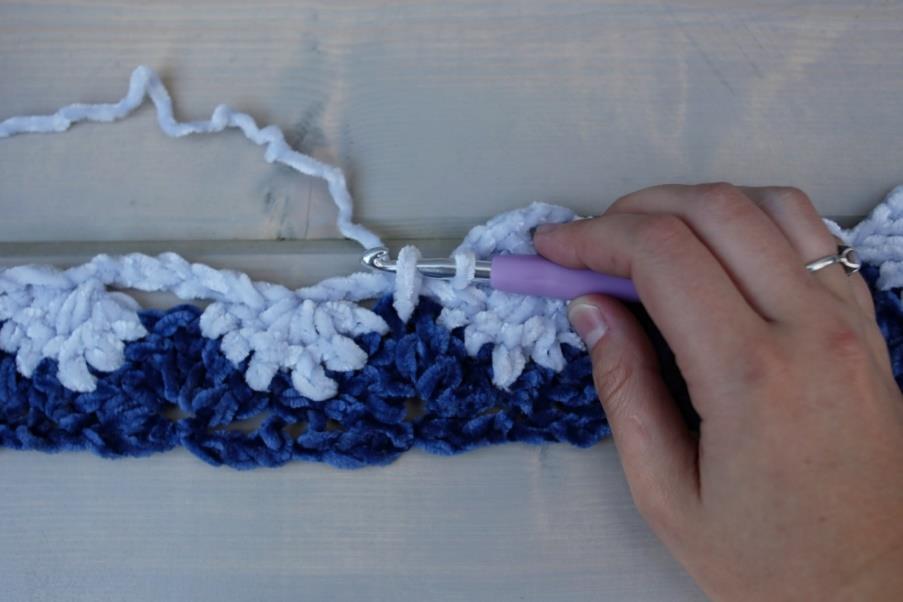
Row 2: Using color B ch 3, skip sc, dc3tog over the next 3 dc. ch 6 skip ch 1 space, dc6tog over the next 6 dc [leaving the sc between groups unworked]. repeat to last 3 dc,dc3tog, dc into the top of ch 3 space, turn work.
**If you are having trouble with rows 2-5 please refer to the video below for step by step instructions. I would love for you to subscribe to my channel 😊.

Row 3: ch 3 skip first dc, dc 3 at the top of dc3tog. *sc into ch 1 space between dc’s from row 1 [including center of ch 6 space] 3 dc, ch 1, 3 dc into top of next dc6tog.* Repeat to last dc3tog, 3 dc into top, dc into top of ch 3 space. Join color A, turn work.
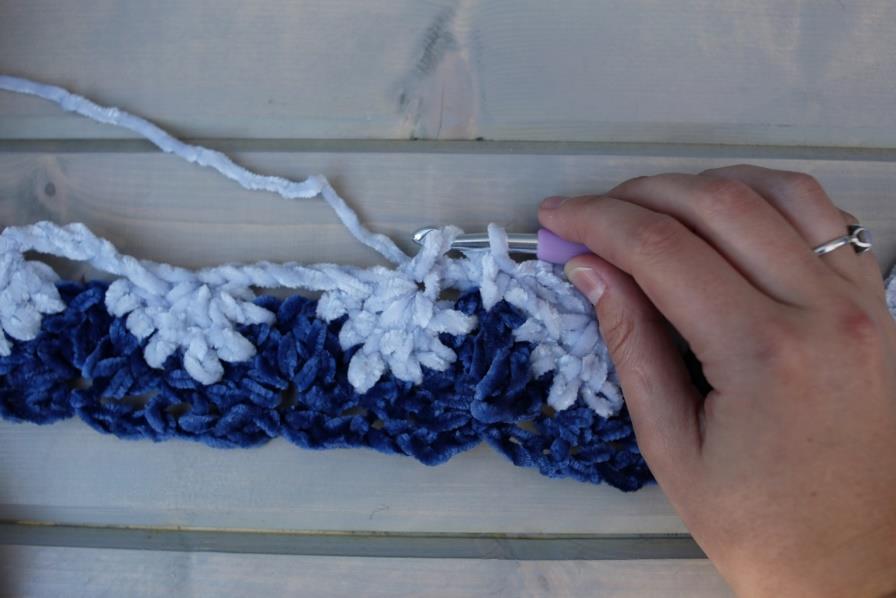
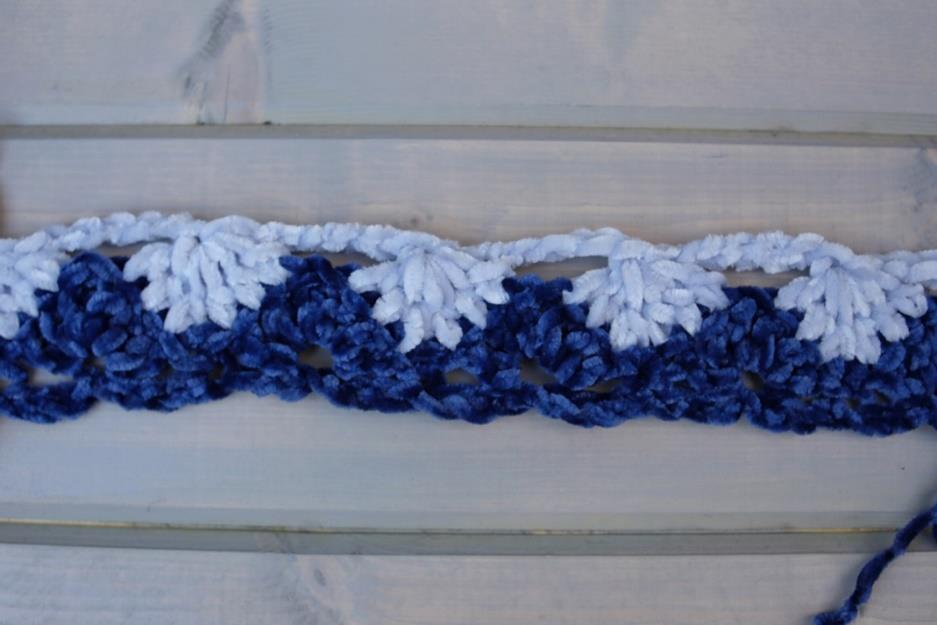
Row 4: ch 3, skip first dc, dc6tog over next 6 dc [leaving the sc between groups unworked], ch 6, skip ch 1 space. repeat to the end, dc into ch 1 space, turn work.
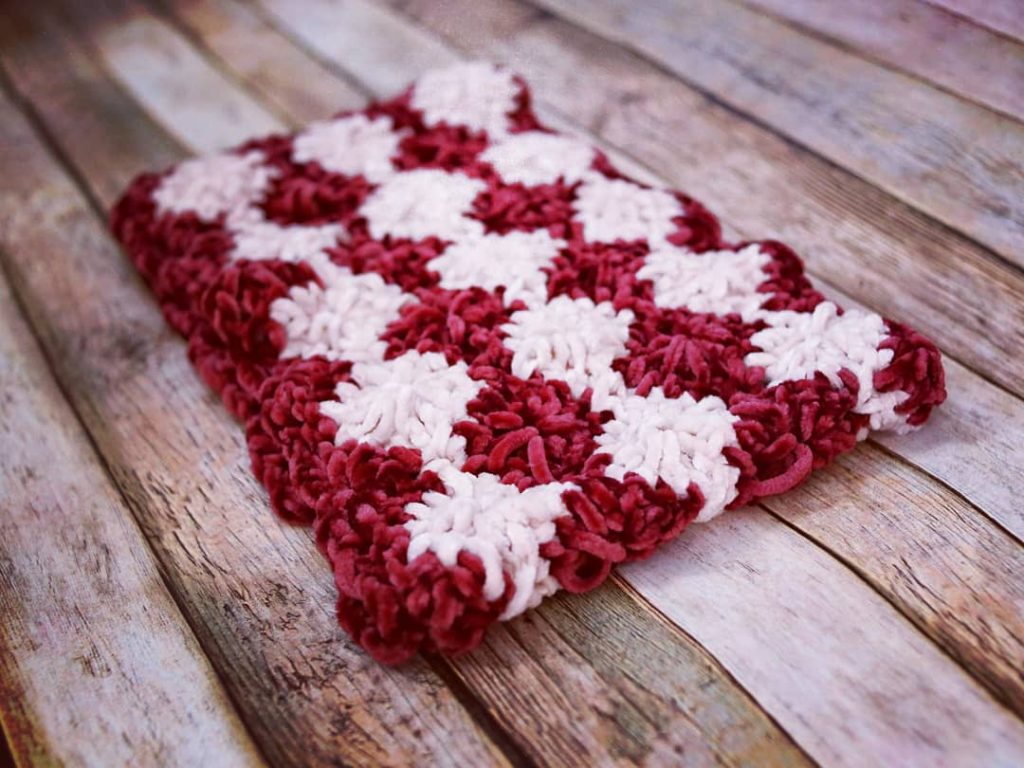
This is how your work should look after row 4

Row 5: ch 3 skip first dc, dc 3 at the top of dc3tog. sc into ch 1 space between dc’s [including center of ch 6 space]
3 dc, ch 1, 3 dc into top of next dc6tog. Repeat to last
dc6tog, 6 dc into top, dc into ch 3 space. Join color B, turn work.
Rows 6-15: repeat rows 2-5 or until you’ve reached your desired width. Note: make sure
your last row ends with color B. Join color A, turn work.
Row 16: ch 1, hdc 3 into each dc across, sc into ch1 space, hdc 3, dc into sc
Seaming:
Fold in half and seam ends together with a whip stitch or your preferred seaming method. I recommend using the lighter color of your two yarn choices, its hides better when seaming.

I’d love to see your finished pieces! Please tag me if you share photos on Instagram by using #snowflakecowl or @BrindleBabeDesigns