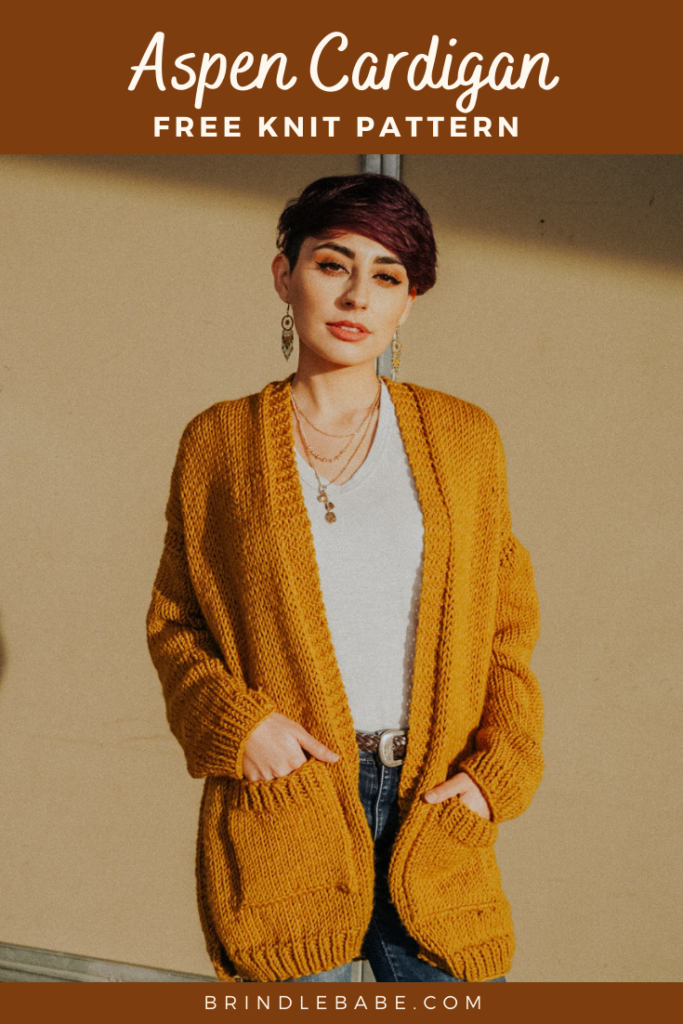
Casual Knit Cardigan – Aspen Cardigan
This post contains affiliate links that help support Brindle Babe Designs Content.
If you would like to get straight to the pattern scroll down!
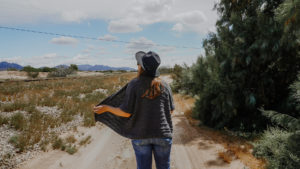
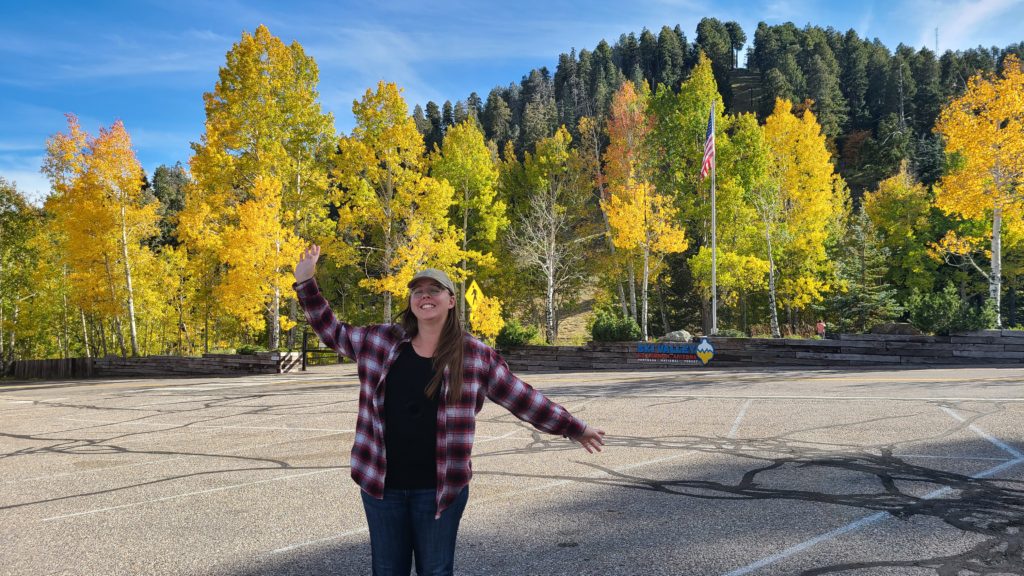
Have you ever seen the leaves change on an Aspen tree? Well its completely magical. The light green leaves turn a bright fiery yellow and gold in the fall which is such a pretty site during the sunset hours of the day. If you haven’t already caught on I typically use flowers and trees to name my patterns because planta are cool. Although I live in Arizona we have a large mountain nearby filled with Aspen trees, which I clearly love visiting.
The Yarn
**Disclaimer** Unfortunately the yarn I used for this project Woolspun is a discontinued from Lionbrand. But don’t worry! I have a few other suggestions below that are equally as warm and cozy.

Knit Picks Mighty Stitch Bulky– This yarn is probably the most comparable to Woolspun as it has the same 80% Acrylic and 20% composition and weight. Knit Picks seems to always ahve a good range of colors which is one reason why I love their lines. You will need the following number of skeins for each size 6(7,8)
Hue + Me– While this yarn also has the same composition of Woolspun it has what I like to say a little rougher finish with more of the wool coming through. I think this yarn has great earthy color options and would probably be the warmest yarn to use. You will need the following number of skeins for each size 6(,7,8)
Purchase the ad free printable pdf here!
Materials
Needles– 6.50mm & 8.0mm circular needles
These are my favorite interchangeable needles!
Yarn– 6(7,8) skeins Lion Brand Woolspun, Weight (5) Bulky, 127 yards

Notes
Skill Level- Beginner
Gauge- 10 stitches X 16 Rows – In stockinette
Sizes- XS/S(M/L, XL/2X)
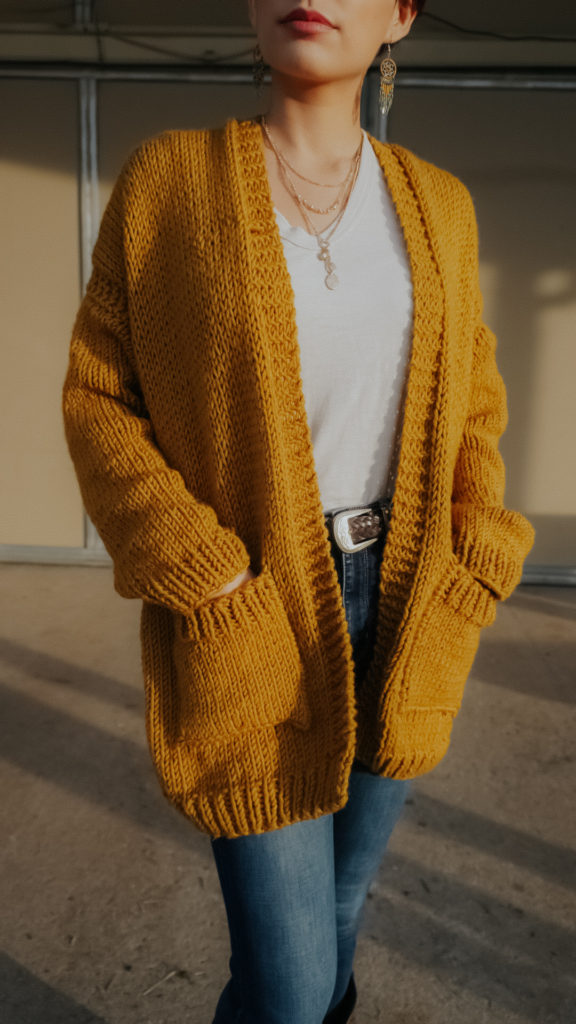
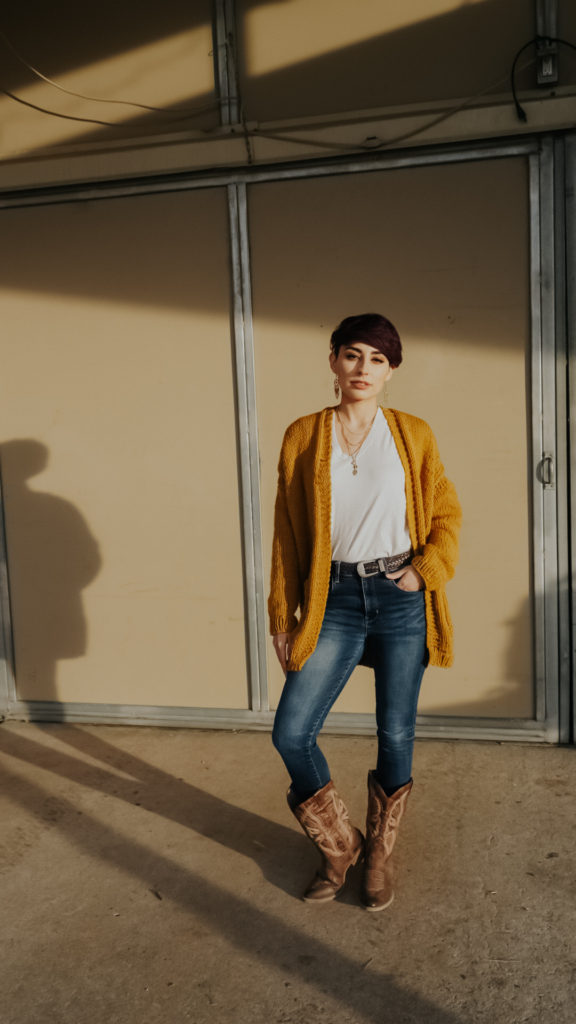
The Cardigan is worked in 3 pieces, a back panel and 2 side panels. Each panel is worked from the bottom up. Once the panels are seamed together, you will then pick up stitches on the arm holes and you will join to work the sleeves in the round. 2 pockets will be worked separately then seamed to the front panels. The sleeves and pockets are worked from the top down. Cardigan has 4-8 inches of positive ease depending on your size. For reference model is a size small and is wearing the M/L size cardigan.
Measurements
| XS/S | M/L | XL/2X | |
| Chest | 38” | 46” | 54” |
| Length | 26” | 27” | 28.5” |
| Armhole Depth | 7” | 8” | 9” |
| Sleeve Length | 17.5” | 19.5” | 20.5” |
Abbreviations (US terms)
Co- Cast on
St- Stitch
K- Knit

K2tog- Knit 2 together
P- Purl
RS- Right side
WS- Wrong side


Pattern
Back Panel
With 6.5mm needles CO 48(58,68) sts
Step 1: *k, p. Repeat from * to the last st.
Step 2: Repeat step 1 for 7 more rows.
Switch to 8.0mm needles
Step 3: k all sts
Step 4: p all sts

Step 5: repeat steps 3 & 4 until you reach 94(100,106) rows (not including ribbing rows).
Step 6: cast off all sts
Side Panels (make 2)
With 6.5mm needles CO 28(30, 34) sts
Step 1: *k, p. Repeat from * to the last st.
Step 2: Repeat step 1 for 7 more rows.
Switch to 8.0mm needles
Step 3: (rs) k all sts.
Step 4: (ws) k 3(4,5) sts, p 18(22,24) sts, k last 3(4,5) sts.
Step 5: Repeat steps 3 & 4 until you reach 94(100,106) rows (not including ribbing rows).
Step 6: cast off all sts
Seaming
Place back panel right side up, then line up front panels wrong side up over the back panel. Start seaming along the top of the shoulders by working from the edge inward. Now starting from the bottom of the sides of your work start seaming up to the base of your armhole (leaving the ribbing unseamed). Seam up to 76(80,83) rows leaving the remaining rows unseamed for your armhole. Check to make sure your armhole fits correctly before moving on!
Sleeves (repeat on both sides)
*I suggest checking the fit of your sleeves as you work them to ensure the length fits your arms correctly. If they are too long omit a few rows before starting your ribbing.
With 8.0mm needles
Step 1: Starting from the seam of the base of your armhole, pick up 42(47,52) sts around.
Step 2: Join to work in the round, place a st marker, k all sts.

Step 3: k all sts, for 9(12,14) more rows.
Step 4: k2tog, k all sts.
Step 5: k all sts.
Step 6: Repeat step 5.
Step 7: repeat step 4.
Step 8: Repeat steps 4-6 over the next 20(35,38) rows.
Step 9: Repeat step 5 for 13(10,8) more rows.
Switch to 6.5mm needles
Step 10: repeat step 5 for 13(6,5) more rows.
Step 11: work ribbing, k, p all sts.
Step 10: repeat step 11 for 7 more rows or until you’ve reached desired length.
Step 11: cast off all sts
Pockets (make 2)
With 6.5mm needles CO 16 sts
Step 1: Start with your rib. *k, p. Repeat from * to the last st.
Step 2: Repeat step 1 for 7 more rows.
*Do NOT switch to 8mm needles
Step 3: k all sts.

Step 4: p all sts.
Step 5: Repeat steps 4 & 5 until you reach 18 rows (not including your ribbing rows).
Step 6: Cast off all sts
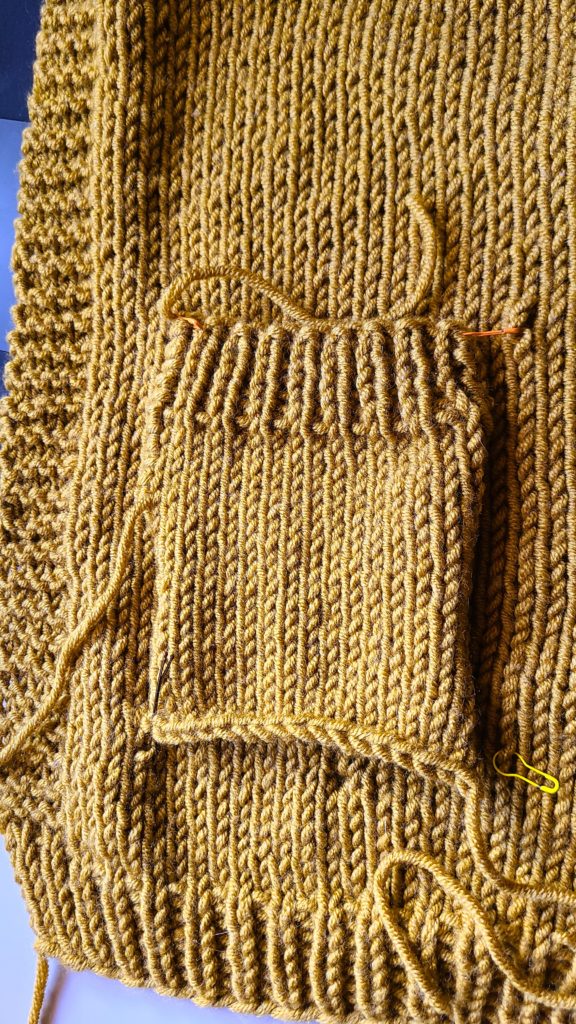
Step 7: Pin your pocket to your front panel. I placed my pocket closer to the front edge rather than in the middle of my panel. I also placed it closer to the bottom of the panel. But you can choose however you’d like to place your pockets.
Step 8: Cut a long piece of yarn for seaming.
Step 9: Starting at the top edge of your pocket seam all the way around using the wip stitch method. As you work around, especially along the bottom of the pocket, make sure you are keeping track of the last row or st you worked so that everything is seamed in a straight line (I counted the number of sts from my ribbing as I worked the bottom to keep straight).

Step 10: Weave in all ends and you are finished!