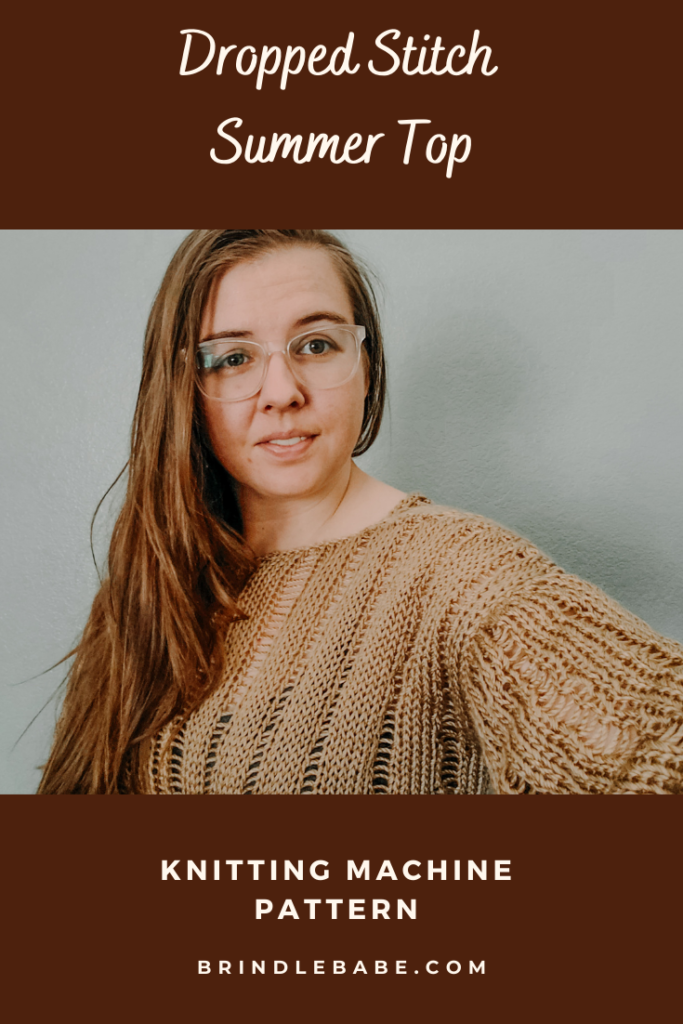
Knitting Machine Dropped Stitch Summer Top

This post contains affiliate links that help support Brindle Babe Designs Content.
If you would like to get straight to the pattern scroll down!
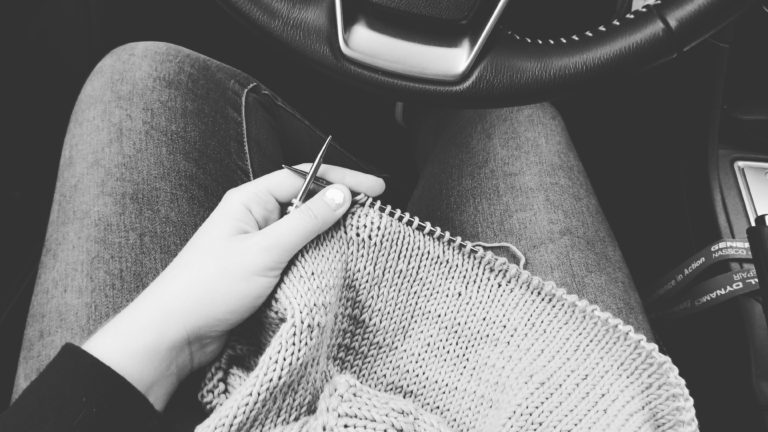
Trying out something new here and I’m bringing you a knitting machine pattern! I’ve been messing around with the flat panel setting on my Addi Express machine and went down the rabbit hole of starting 3 new wips. I know a lot of people shy away from the flat panel setting but it’s really very simple, I’ll take you through all the steps. Sometimes when you’ve been working on nothing but projects that are very time consuming it’s nice to whip up a quick project that normally would take many hours to make if hand knitted. You will need to know how to crochet slip stitches for this pattern but no manual knitting is required.
Construction
The construction of this top is made up of 4 body panels and 4 sleeve panels. After the panel is removed from your machine you will work slip stitches along each stitch. For the top of each panel you will pick up each stitch and start working the drop stitches and finish by slipping each stitch. To finish your piece you will seam body panels and sleeves together.

The Yarn
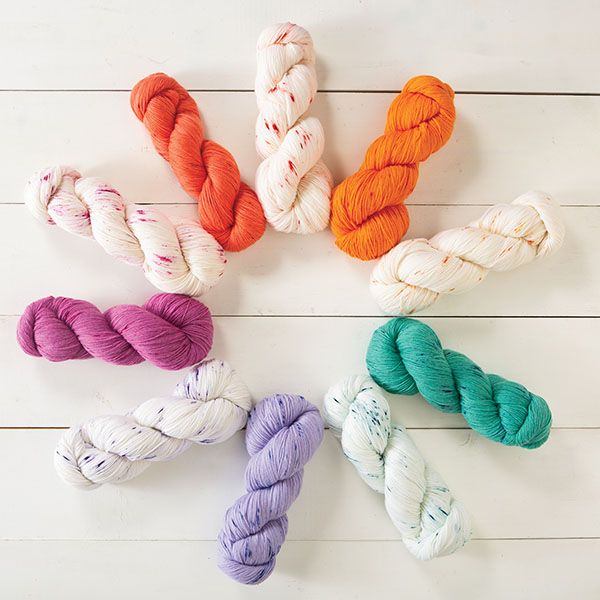
The yarn I used for this pattern is Hobby Lobby’s Yarn Bee Soft Secret. Soft Secret is a great light worsted weight yarn with a shiny finish. I love that this yarn has a large range of 44 colors! This yarn is perfect for light weight summer garments.
A good alternative yarn to use for this pattern is Caron Simply Soft. Simply Soft is slightly more dense than Soft Secret but is the closest in composition. This is another great yarn for its shiny finish and 40 colors to choose from!


More Free Tutorials
Subscribe to my channel for more crochet and knit tutorials!

Cannot collect videos from this channel. Please make sure this is a valid channel ID.
> Free Knitting Machine Pattern <
More Free Summer Patterns


Notes
Sizes– XS/S (M/L, XL/2X)
Gauge– 4” X 4” In Stockinette, 14 Stitches X 18 Rows (before working dropped stitches)

Measurements
| XS/S | M/L | XL/2X | |
| Chest | 34 | 41 | 44 |
| Length | 16.5 | 18 | 19 |
| Sleeves | 11 | 12 | 13 |
Materials
- Addi Express King (46) needle or Sentro (48) needle
- Tapestry Needle
- Scissors
- Stitch saver or straight knitting needle
Pattern
Body Panels
Make 4
CO waste yarn to (30, 38, 44) needles start at the first white peg next to the last black peg.
Step 1: Work 4-6 rows with waste yarn
Step 2: Reset row counter, change to regular yarn, work (74, 82, 88) rows.
Step 3: Change to waste yarn and work 4-6 rows.
*Important before removing stitches use a stitch marker to indicate the bottom of your work!
Step 4: Remove all stitches from machine.
*Each panel should measure approx. (8.5”, 10.25”, 12.5”) Inches. If you don’t meet these sizes add or remove stitches to meet these measurements. I suggest adding stitches in small increments until you are happy with the size. Apply the same changes to each of your body panels.
Step 5: (Do not remove waste yarn yet) along the bottom slip stitch over each stitch. You can include a chain 1 after each slip stitch this will give your panels a lot of stretch (make sure to work slip stitches loosely), remove waste yarn from the bottom only.
Step 6: Pick up stitches along the top with a knitting needle or stitch saver. Remove waste yarn.
Step 7: Transfer stitches to another needle, as you transfer stitches drop every (7th, 7th, 6th) stitch.
Step 8: slip stitch each stitch along the top edge.
Sleeves
Make 4
CO to (26, 30, 34) needles start at the first white peg next to the last black peg.
Step 1: Work 4-6 rows with waste yarn.
Step 2: Reset row counter, change to regular yarn, work (48, 54, 59) rows.
Step 3: Change to waste yarn and work 4-6 rows.
*Important before removing stitches use a stitch marker to indicate the bottom of your work!
Step 4: Remove all stitches.
Step 5: (Do not remove waste yarn yet) along the bottom slip stitch over each stitch. *I do not recommend adding a chain 1 to your slip stitches on the sleeve panels. Remove waste yarn from the bottom only.
Step 6: Pick up stitches along the top with a knitting needle or stitch saver. Remove waste yarn.
Step 7: Transfer stitches to another needle, as you transfer stitches drop every (6th, 5th omit last dropped stitch, 5th) stitch.
Step 8: slip stitch each stitch along the top edge.
Seaming
Step 1: Lay 2 body panels flat with wrong side up, start seaming along the middle. Repeat for the remaining 2 body panels.
Step 2: With the wrong side up lay front and back panels flat and start seaming together at the shoulder. I left about 8.5 inches unworked for my opening. I recommend trying your piece on as you work this to make sure it’s not too tight or too loose.

Step 3: Lay 2 sleeve panels flat with wrong side up, start seaming along the middle. Repeat for the remaining 2 sleeve panels. Do not fully seam sleeves together to make a tube yet! This will be done after seaming to the body panel.
Step 4: Lay sleeves flat against the body panels and seam at the armhole.
Step 5: Seam the bottom edge of each sleeve.
Step 6: Seam the outside edge of the body panels working from the bottom working up to the base of the armhole.