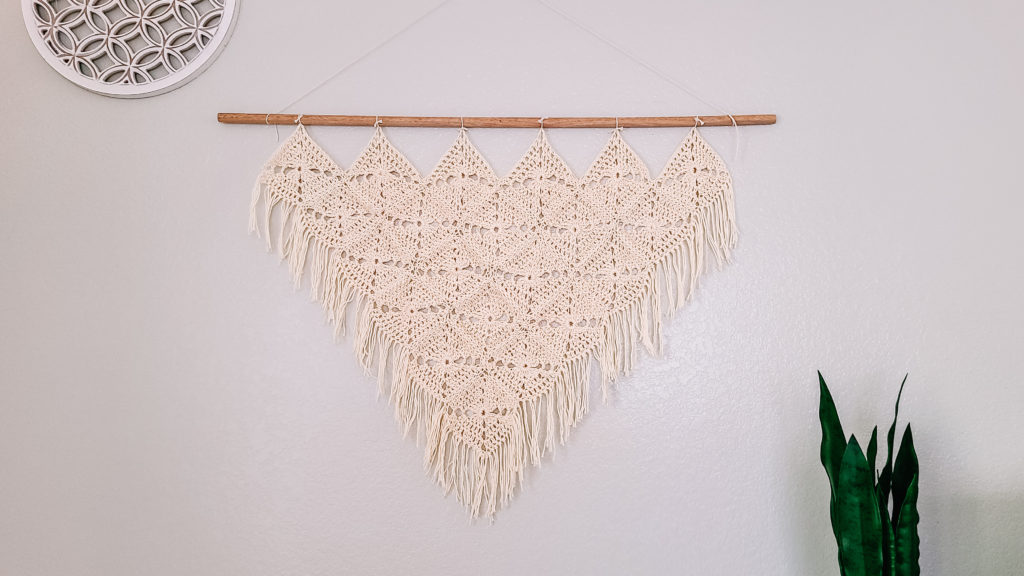
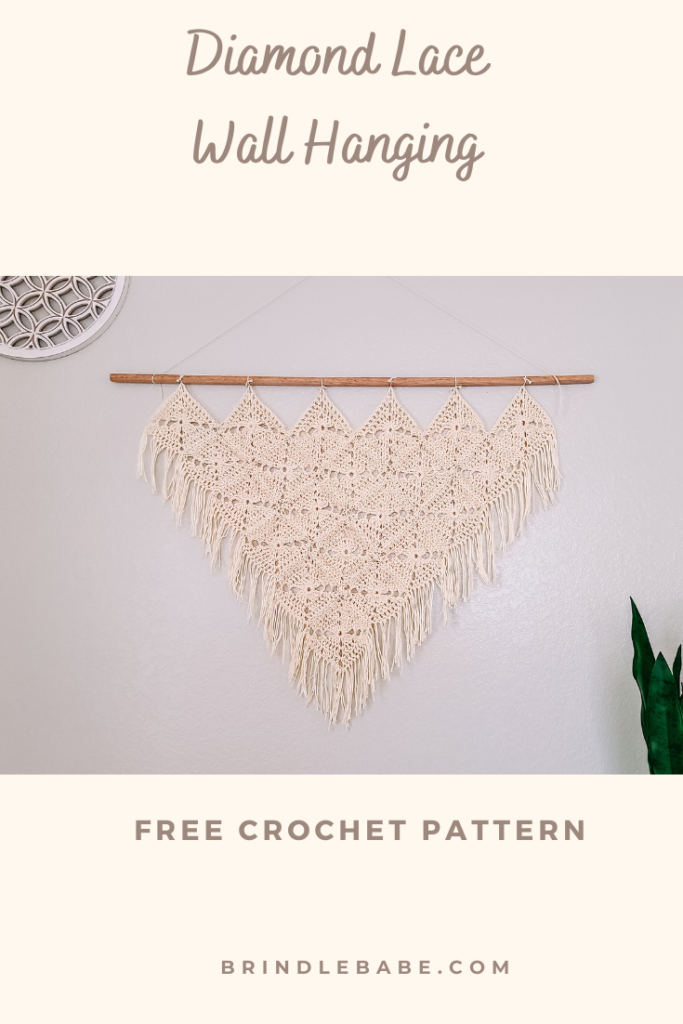
Crochet Diamond Lace Wall Hanging
This post contains affiliate links that help support Brindle Babe Designs Content.
If you would like to get straight to the pattern scroll down!
Bringing you another crochet pattern that has lived in my notebook for far too long! This lacey boho wall hanging consists of crochet diamonds, very similar to the granny square. The diamond lace wall hanging is the perfect accent to virtually any wall décor and you can choose any color to match your style. When people come to your house and ask where you got this wall hanging, you can brag that YOU made it! This is an intermediate level pattern, but as long as you can work in the round, treble crochet and know how to seam front posts only you can make this pattern!
Construction
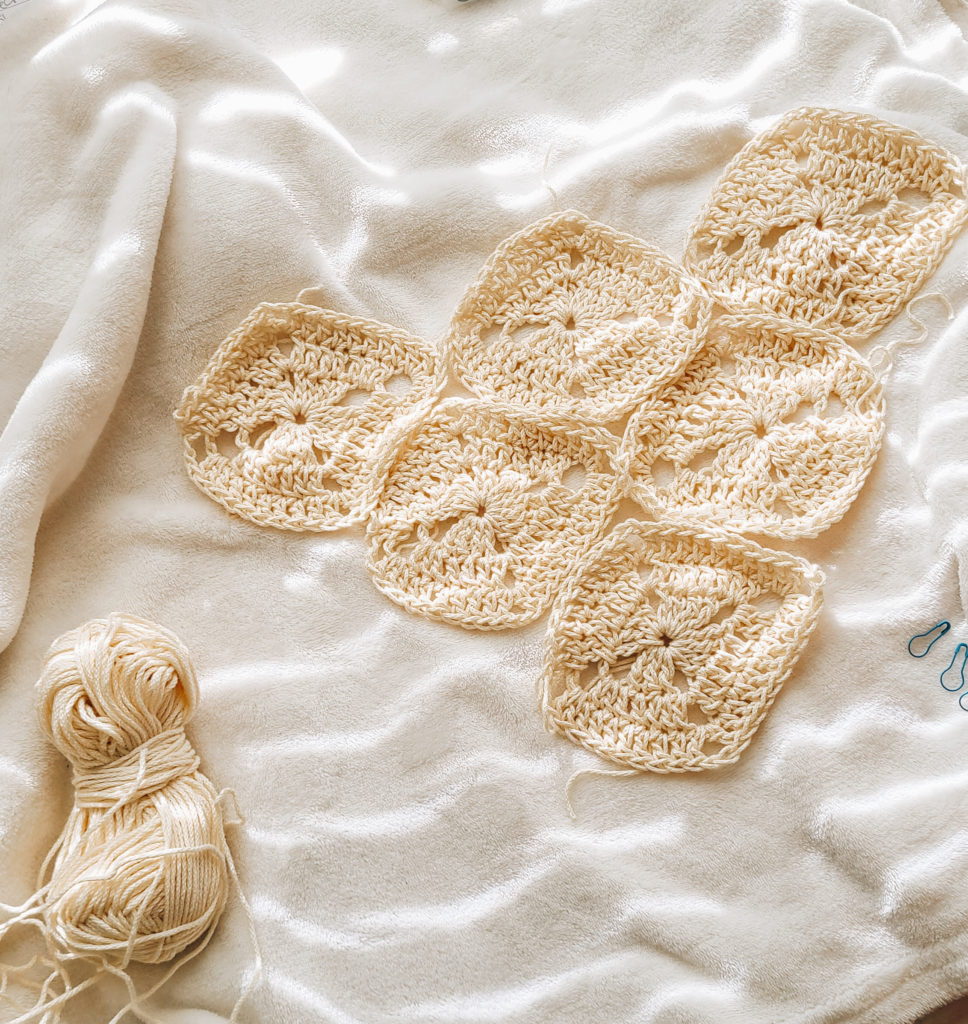
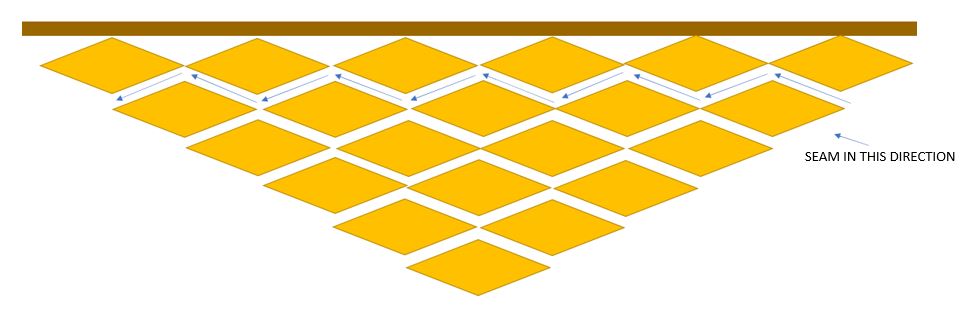
Don’t let the diamond construction give you any fear, if you can make a granny square you can make the diamond. This wall hanging consists of 21 individual crochet diamonds that are seamed together to form a triangle. While it may feel like a lot of seaming trust me the seaming is not that bad. Put on your favorite movie or show and you will breeze right through the seaming for this project. Blocking your work at the end is so important. You will notice as you’re seaming the diamonds together your seams will be a bit raised, blocking your work will flatten everything out including your tassels. If you’re like me and miss placed your steamer and don’t want to wait for a new one. You can hang your project on the inside of your shower point the shower head away from your work and turn the heat all the way up for about 10 minutes and voila perfectly steamed!

The Yarn
For this pattern I used Lion Brand’s 24/7 cotton yarn. 24/7 Cotton is one of my top go to yarns. Number one it has a great selection of 37 different colors which means you can pick the color that best matches your décor style. Number 2 it is a soft worsted weight yarn, you don’t have to contend with that rough scratchy feel of some other cotton yarns. This yarn has a high-quality finish that is unmatched to any other cotton yarns I’ve worked with. Check out all the colors to choose from here.


More Free Tutorials
Subscribe to my channel for more crochet and knit tutorials!

> Free Crochet Wall Hanging Pattern <
- Purchase the ad-free printable PDF here on LoveCrafts Or Etsy
- Add the pattern to your Ravelry favorites
- Pin for later here
- Find the full pattern video tutorial here
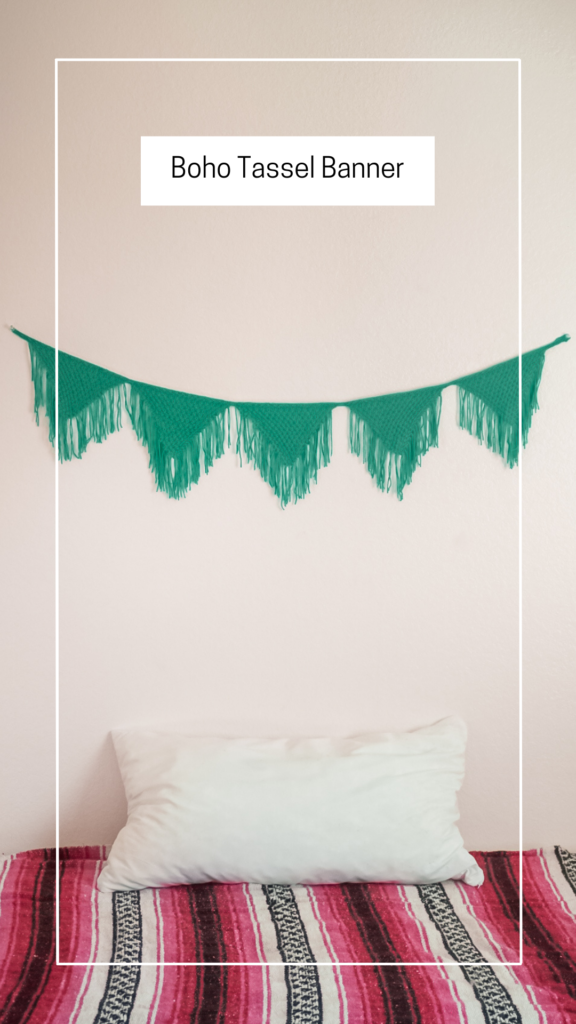
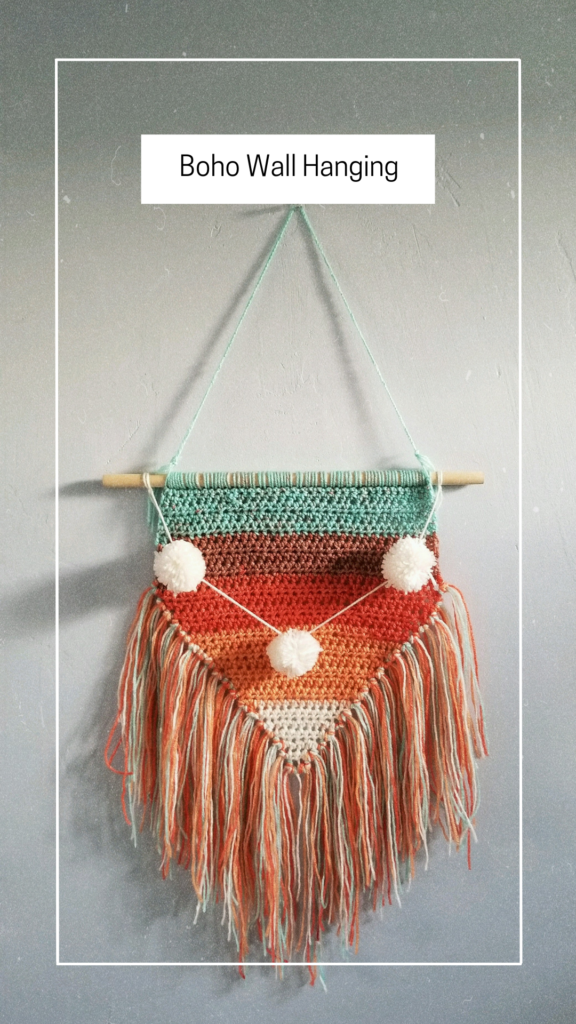
More free home décor patterns you might like:

Materials
- 5.50mm Crochet Hook
- Tapestry Needle
- Scissors
- 36” Wooden dowel
Yarn– 2 skeins of 24/7 Cotton (in Ecru), Weight (4) worsted, 186 yards
Abbreviations (US terms)

Dc- Double Crochet
Tr- Treble Crochet
St- Stitch
Sk- Skip
Slst- Slip Stitch
Ch– Chain
Notes
Skill Level- Intermediate
Gauge– Each diamond should measure approx. 5.5″ long by 4″ wide
Each diamond is worked in the round starting with a chain 3 then joining. You will then lay each diamond flat to form a lage triangle. Seaming will start at the base of the top row of diamonds working from right to left. You will then attach everything to the wooden dowel. Tassels will then be attached to the outside edge. Blocking your work when you are finished will flatten any ridges and make your tassels straight.
Measurements
Finished measurements- 30″ wide by 21″ long when blocked
Pattern
Make 21
Round 1: ch 3, join with a slst to first ch, ch 5, In the center of the ring [tc, tc, dc, dc, ch2, dc, dc, tc, tc, ch 3, tc, tc, dc, dc, ch2, dc, dc, tc]. Join to the 3rd ch with a slst.
Round 2: Ch 4. 2 dc in ch 3 sp. 1 dc in each st to ch 2 sp. In ch 2 sp [dc, ch 2, dc]. 1 dc in each st to next ch 3 sp. In ch 3 sp [2 dc, ch 3, 2 dc]. 1 dc in each st to next ch 2 sp. In ch 2 sp [dc, ch 2, dc]. 1 dc in each sp to last ch 3 sp. 1 dc in ch 3 sp from previous round. Join with a slst to 3rd ch.

Round 3: Repeat Round 2.
Seaming & Finishing
Step 1: Lay diamonds flat with the top and bottom of the diamonds facing horizontally starting with 6 at the top row, omitting 1 diamond for each following row.
Step 2: Starting from the right begin seaming front loops only along the bottom of each row of diamonds. (See diagram for layout and seaming instruction
Step 3: Repeat until all diamonds are seamed together.
Step 4: Attach wall hanging to dowel by tying off at ch 2 spaces.
Step 5: Attach tassels along the edge.

Step 6: Trim all tails and weave in ends.
*I suggest blocking your work at the end so that everything lays nice and flat.